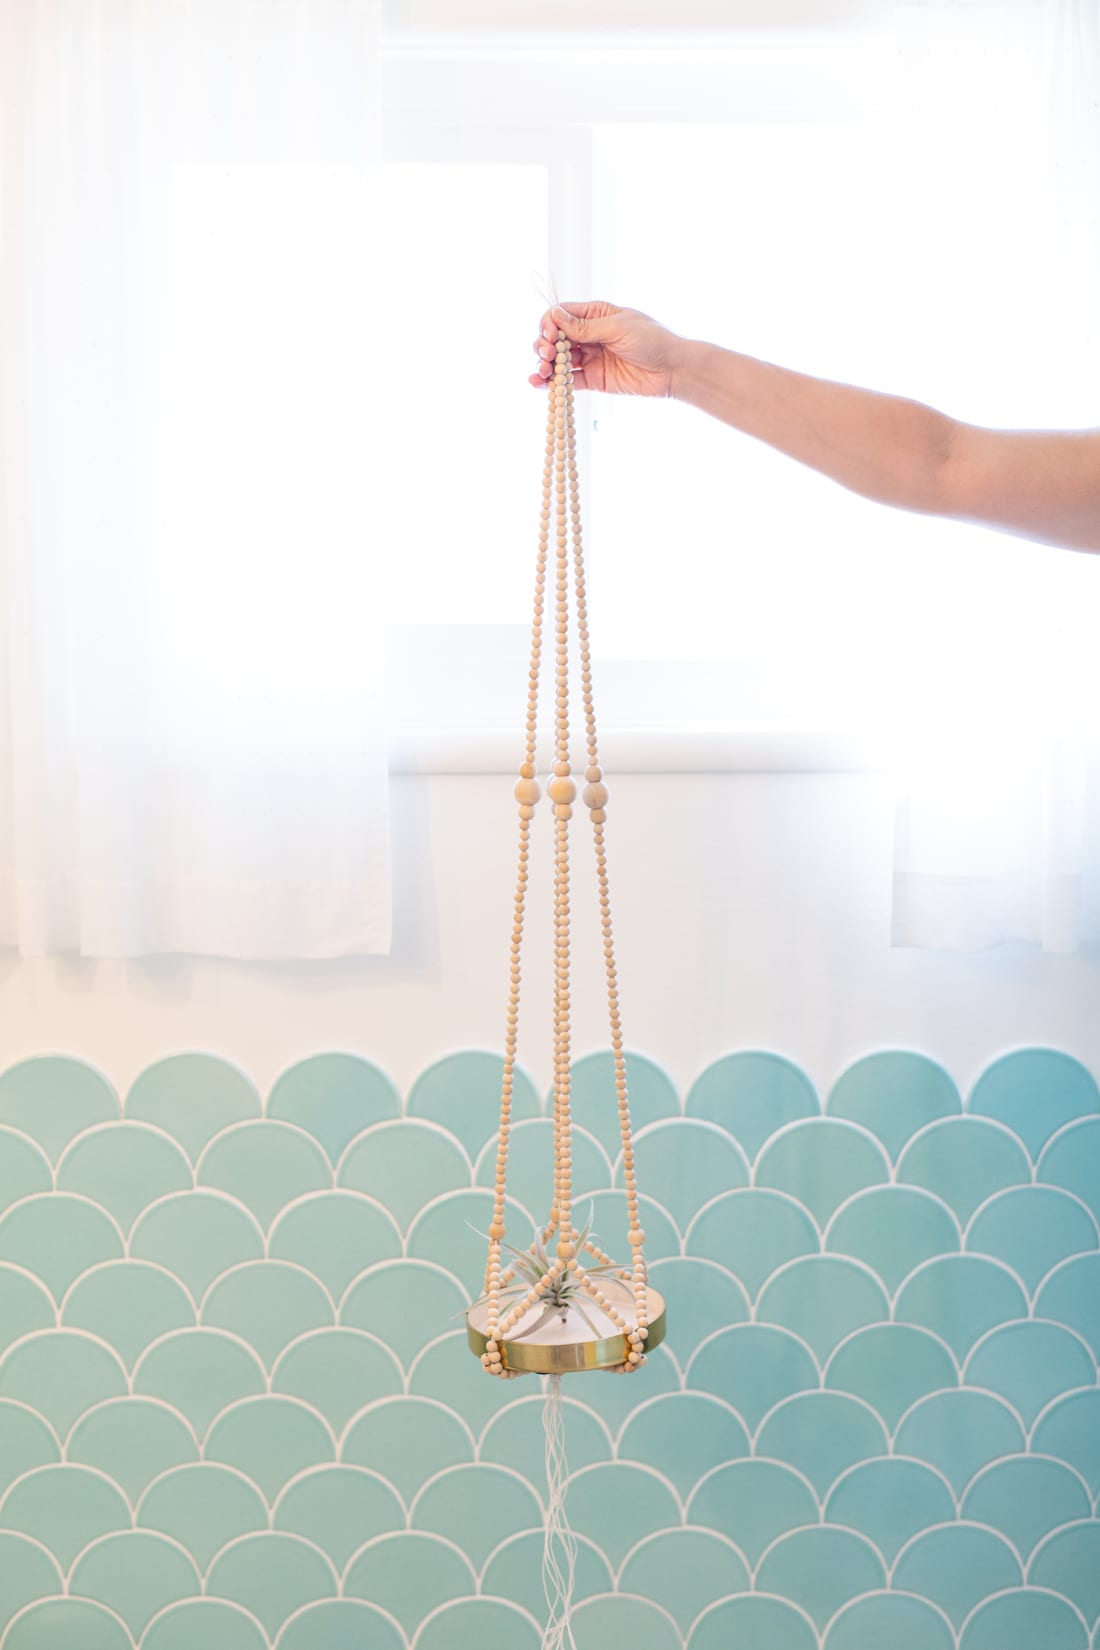
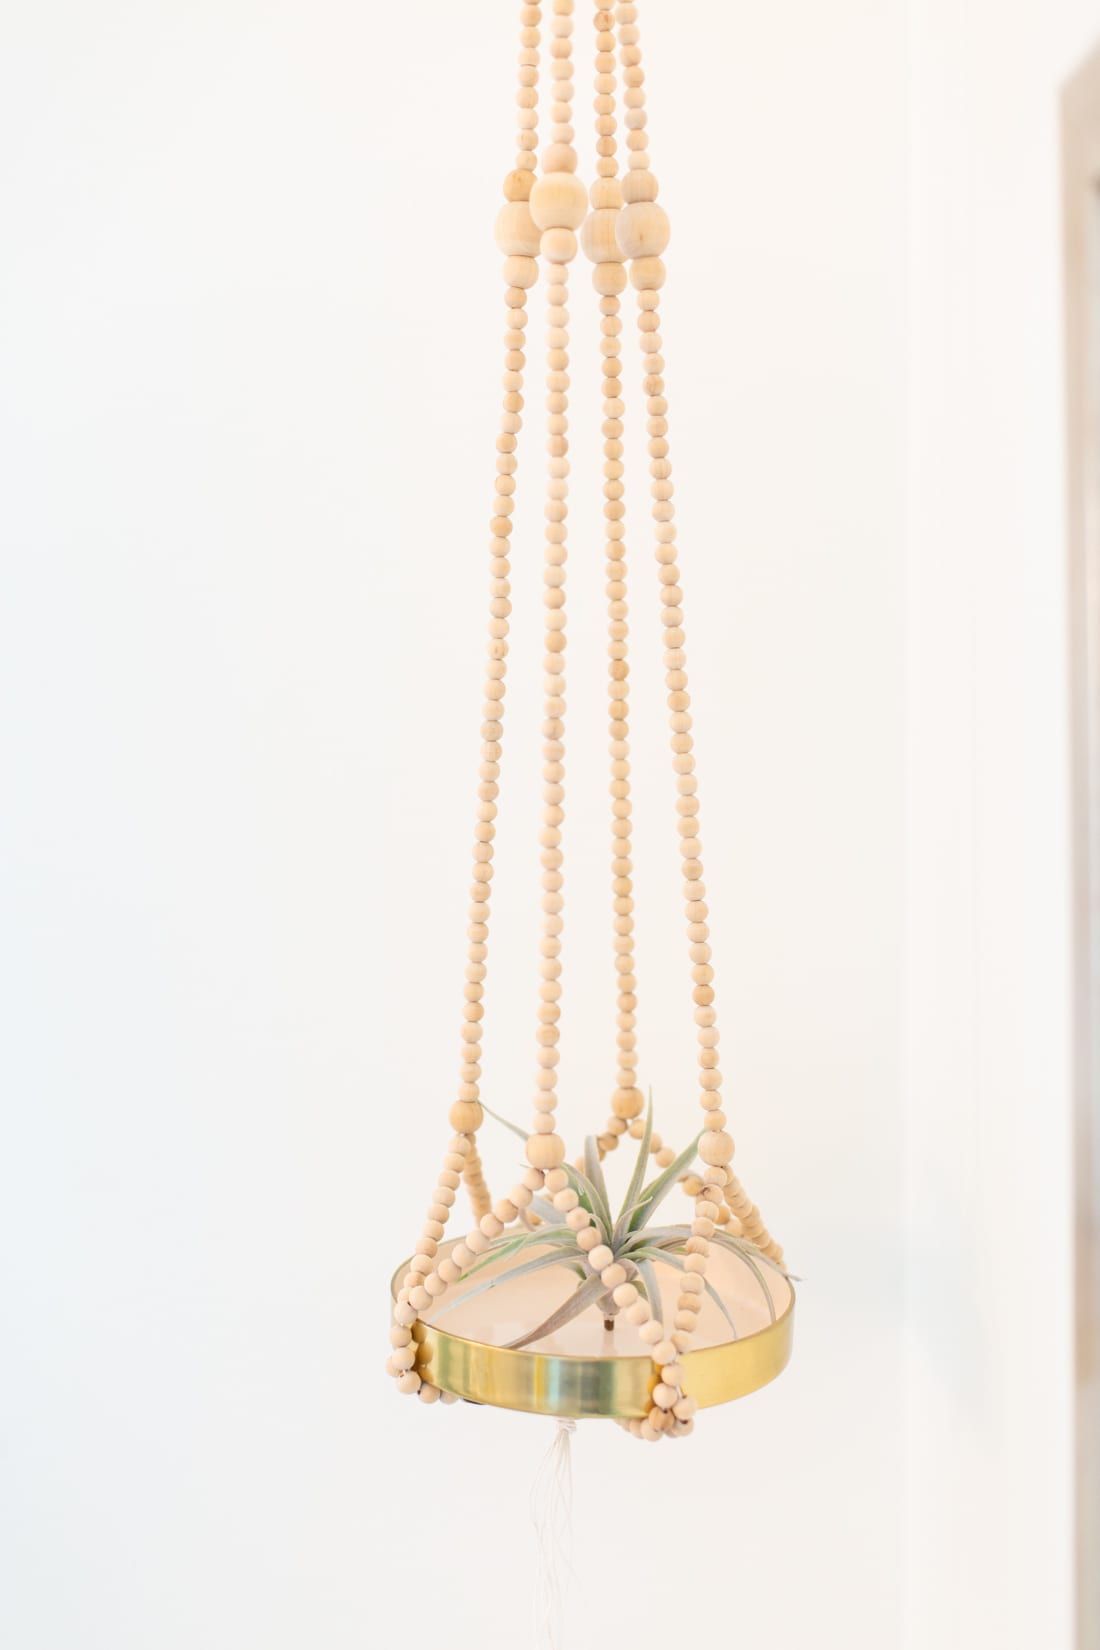
Make a DIY plant hanger! This beginner-friendly project comes together in an afternoon and will leave you with a fresh piece of home decor.
This is one of those projects that immediately adds personality, depth, and texture to any space.
And I’m not just saying that because I’m a major plant lady!
You don’t even have to hang a plant in it – this beaded hanger would look awesome holding a pretty pot, or even a big dish filled with trinkets.
Learning how to make a beaded DIY plant hanger isn’t difficult at all — in fact, it’s definitely an all-levels project that you can complete inside a couple hours. Let’s do it!
Before you dive in, check out our list of low-light indoor plants that are super easy to take care of! Perfect for filling a hanging planter.
And be sure to sign up below for my VIP group. I send these folks more of my very best DIY projects and home ideas.
cylindrical planters (This is a set of two for a really good deal; you could make two hanging planters or use the second one for a different project.)
soil and a plant (or an airplant)
optional: clear tape
Make Time: 2 Hours
Step 1: Cut four lengths of waxed cord, each about 100″ long. Group them together and fold them in half. At the halfway point, knot all of the cords together, leaving a loop that you can hang the piece from. You should now have a loop, a knot, and eight pieces of waxed cord hanging.
Step 2: Start stringing your small beads. For this first section, you’ll be taking two strands of cord and treating them as one. So take two strands and string beads on them together, so that they’re inserted through the same beads at the same time. Do this for four pairs of cord.If you’re having trouble getting the two cords through the beads, use a bit of scotch tape to tape the ends together, winding the tape tightly around the ends to keep them together and tight. For this portion, decide how long you’d like the first hanging section of beads to be in your plant hanger and string them accordingly. Our is about 30 inches worth of beads.
Step 3: Once you have four strands of beads (each strand has two cords inside) of equal length, finish each strand with one medium bead.
Step 4: Now, separate the cords back into eight single strands and start stringing beads on each. I recommend placing about 10 beads on each cord.
Step 5: Next, you’ll use a single bead to create pairs of strands. Add one bead to each pair, stringing both strands through the single bead.
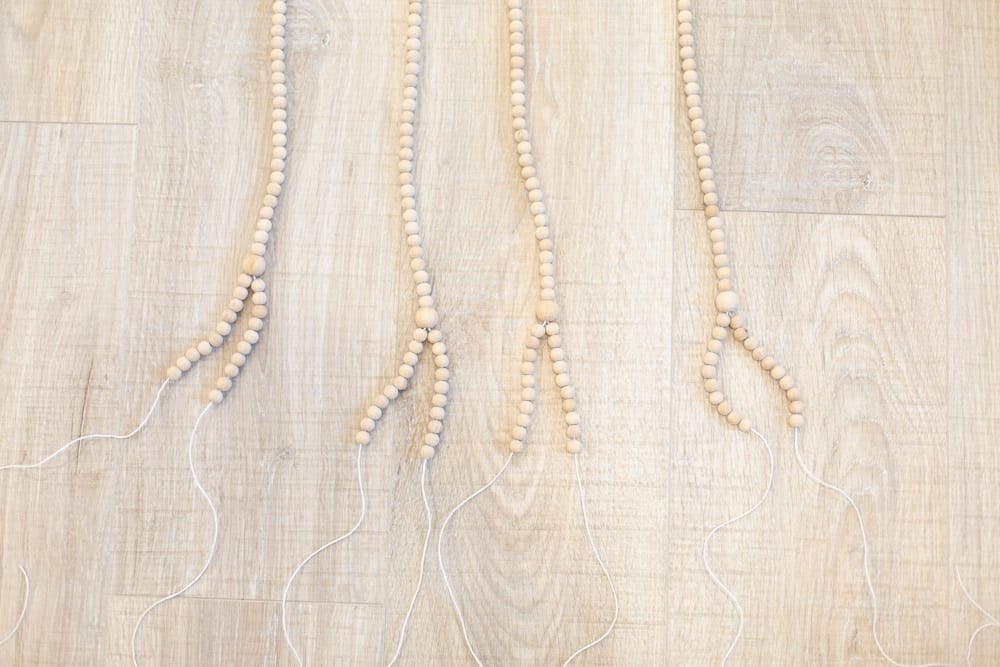
Step 6: Below the medium beads, separate the strands into eight singles again. String another 10 beads on each cord.
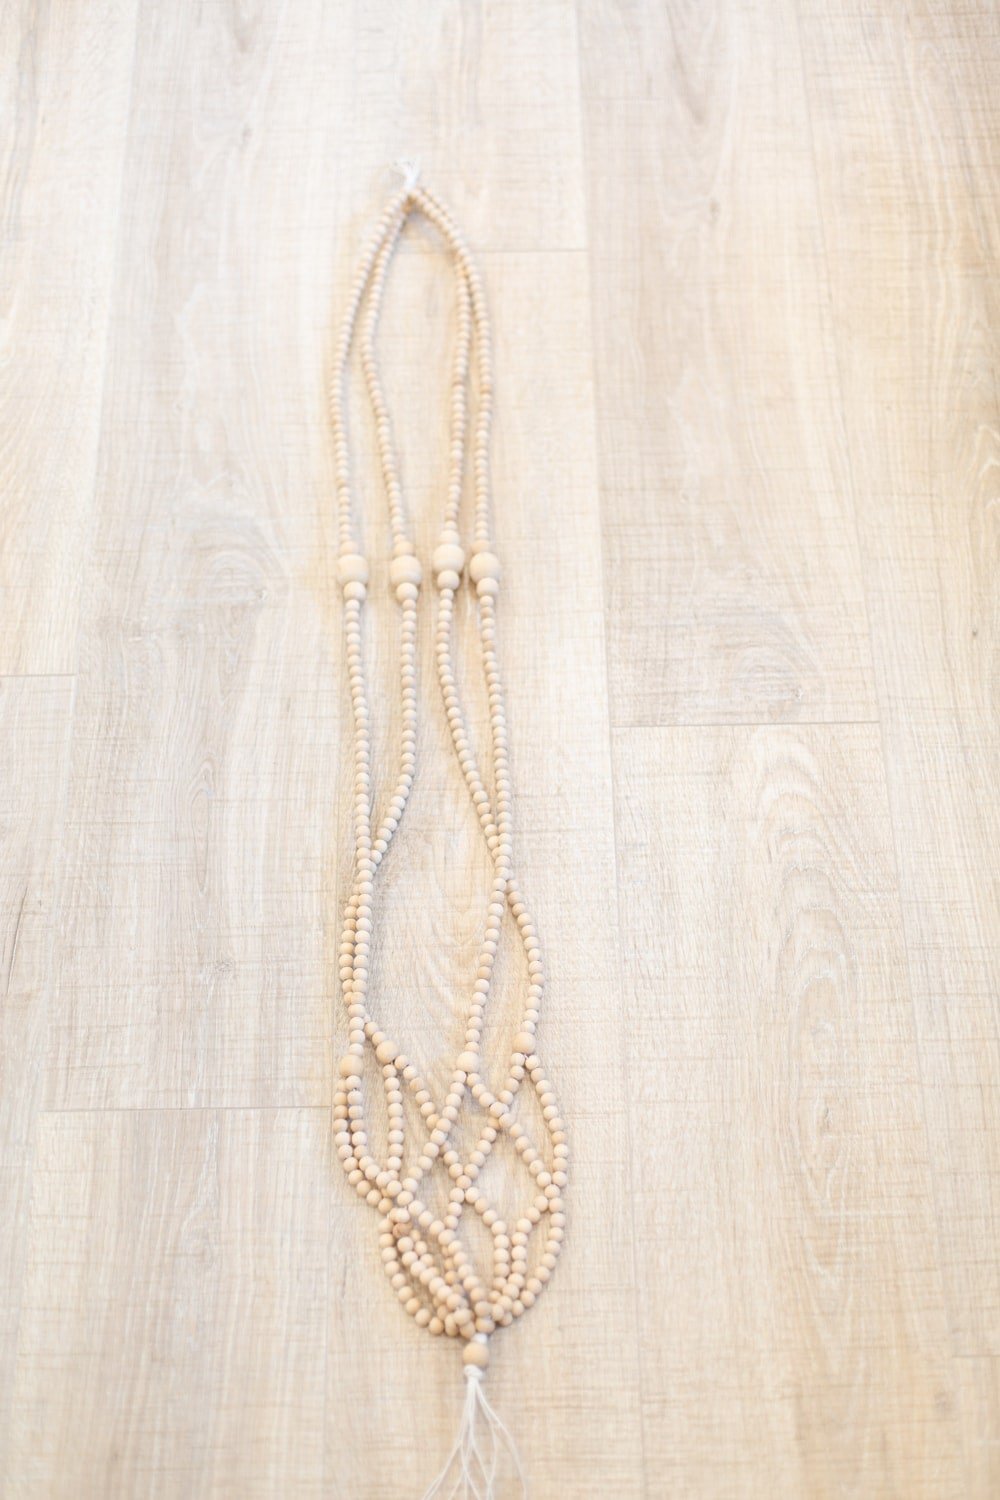
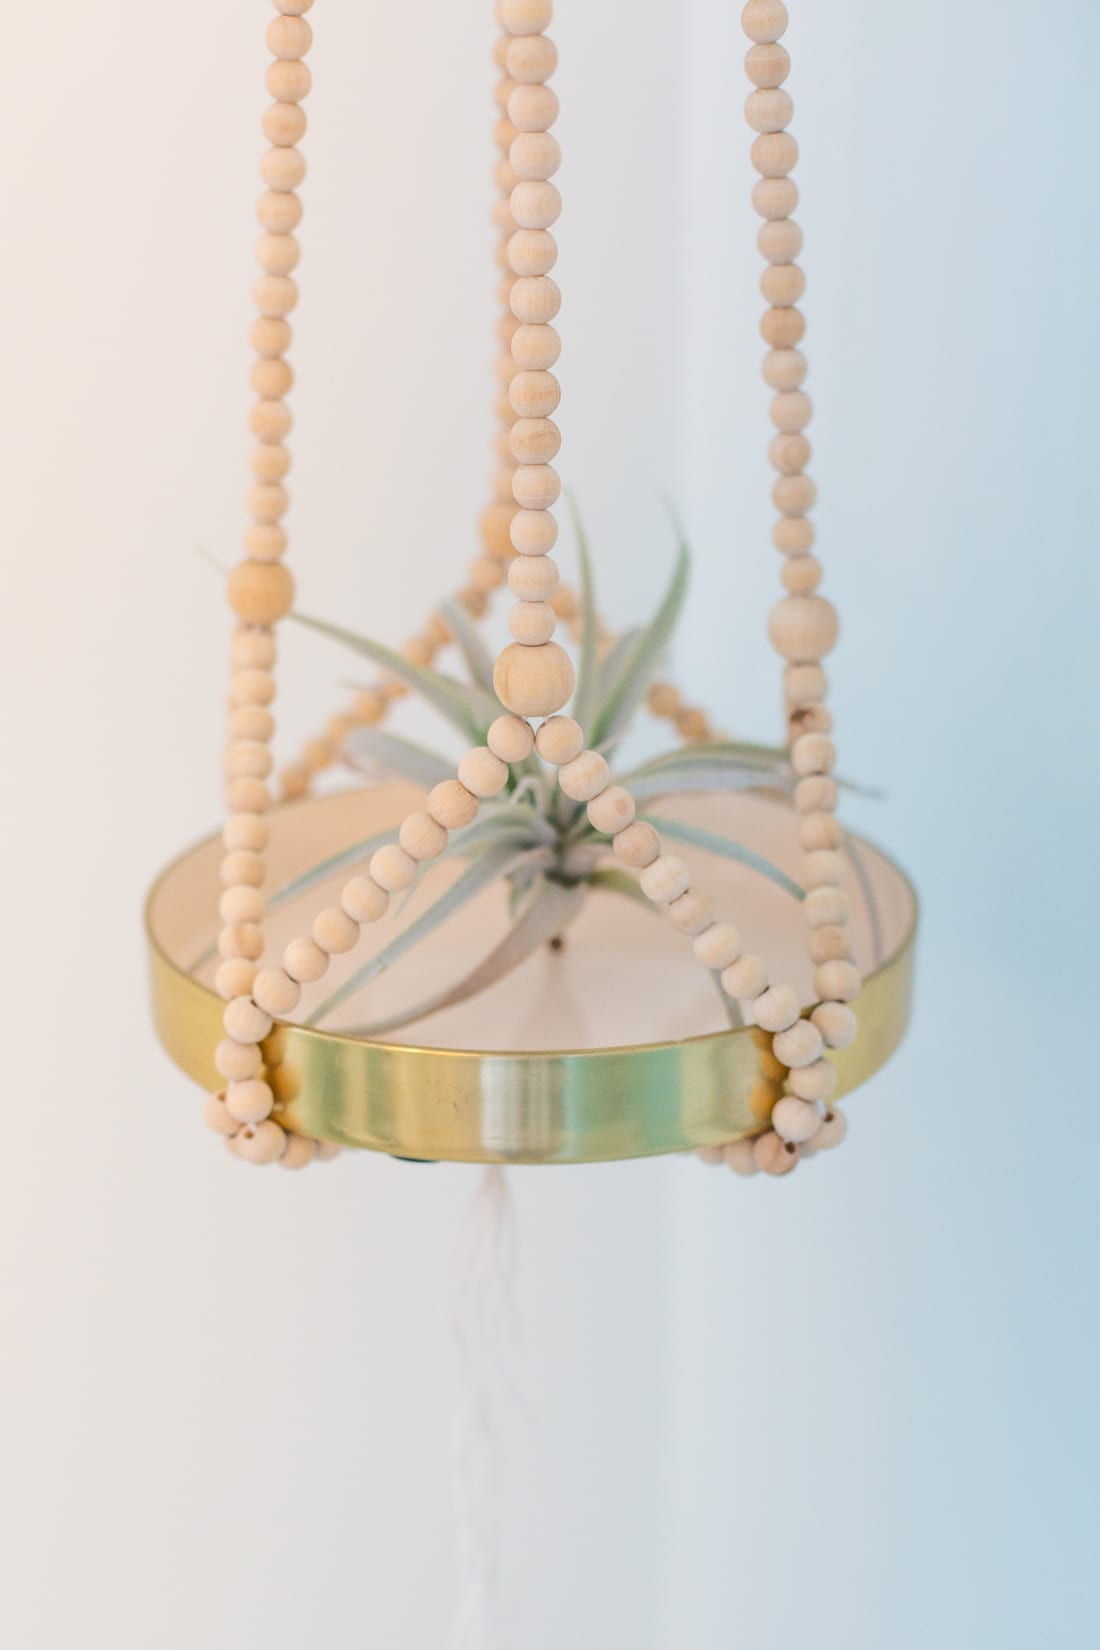
Step 7: After the 10 beads, you’ll make pairs again, but they should be staggered from the pairs you made last time to create a web for the plant holder to sit in.
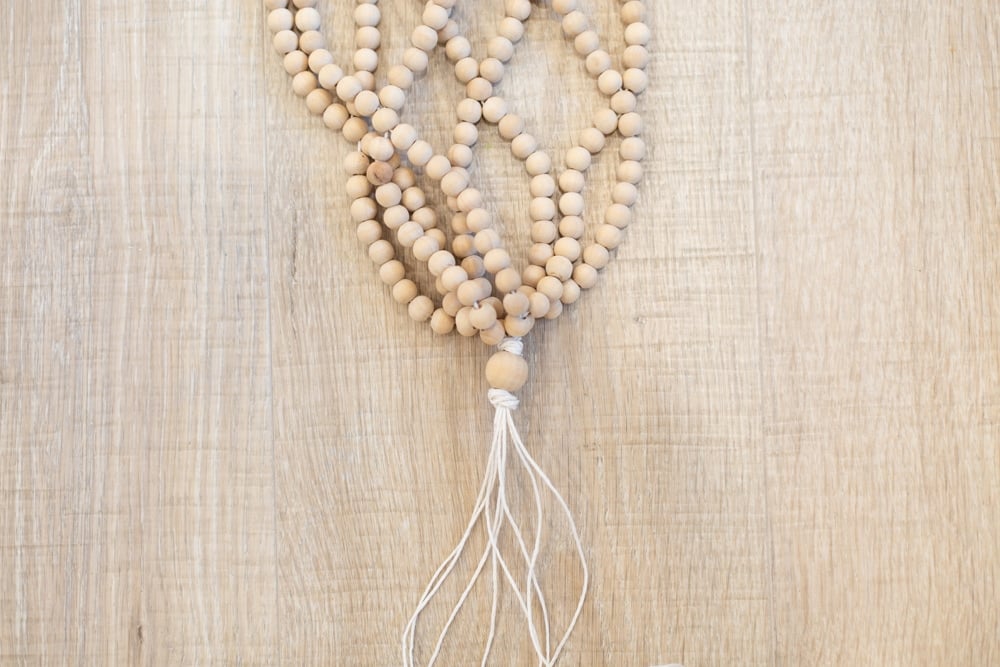
Step 8: Next, knot all cords together, securing the beads in one group. Finally, add any more decorative beads that you like below the knot. We added one final medium bead and knotted the cords again below it.
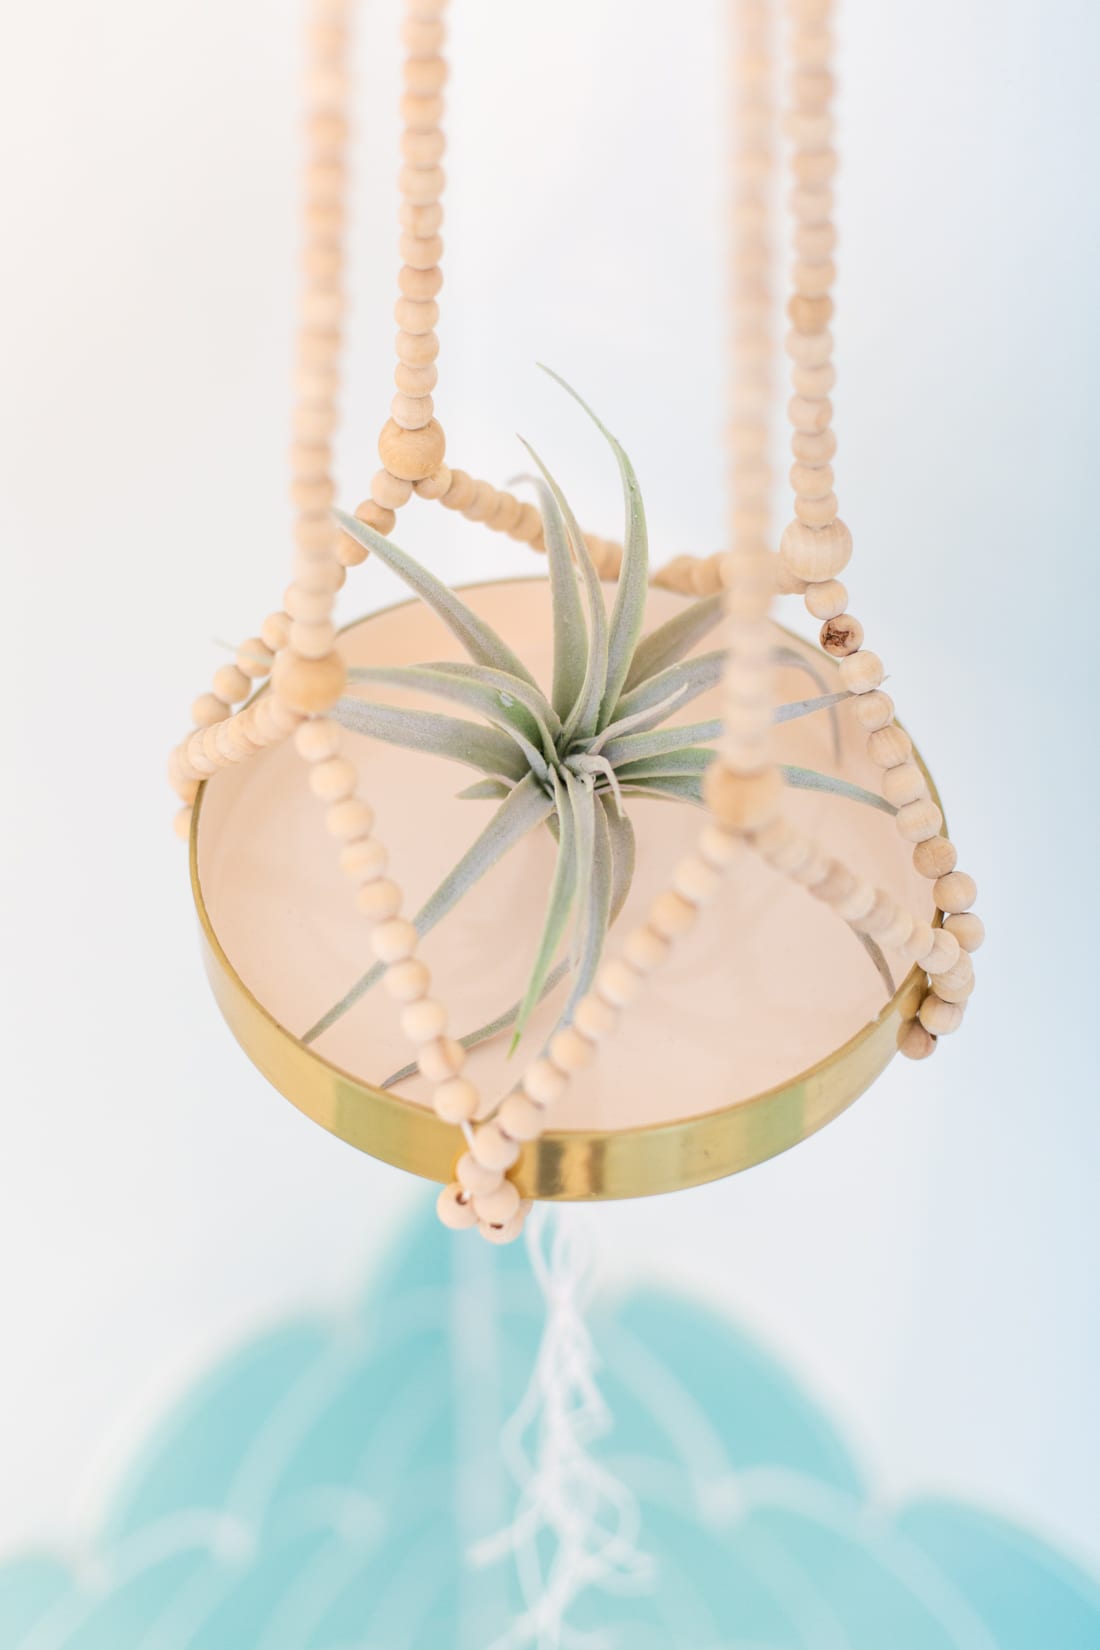
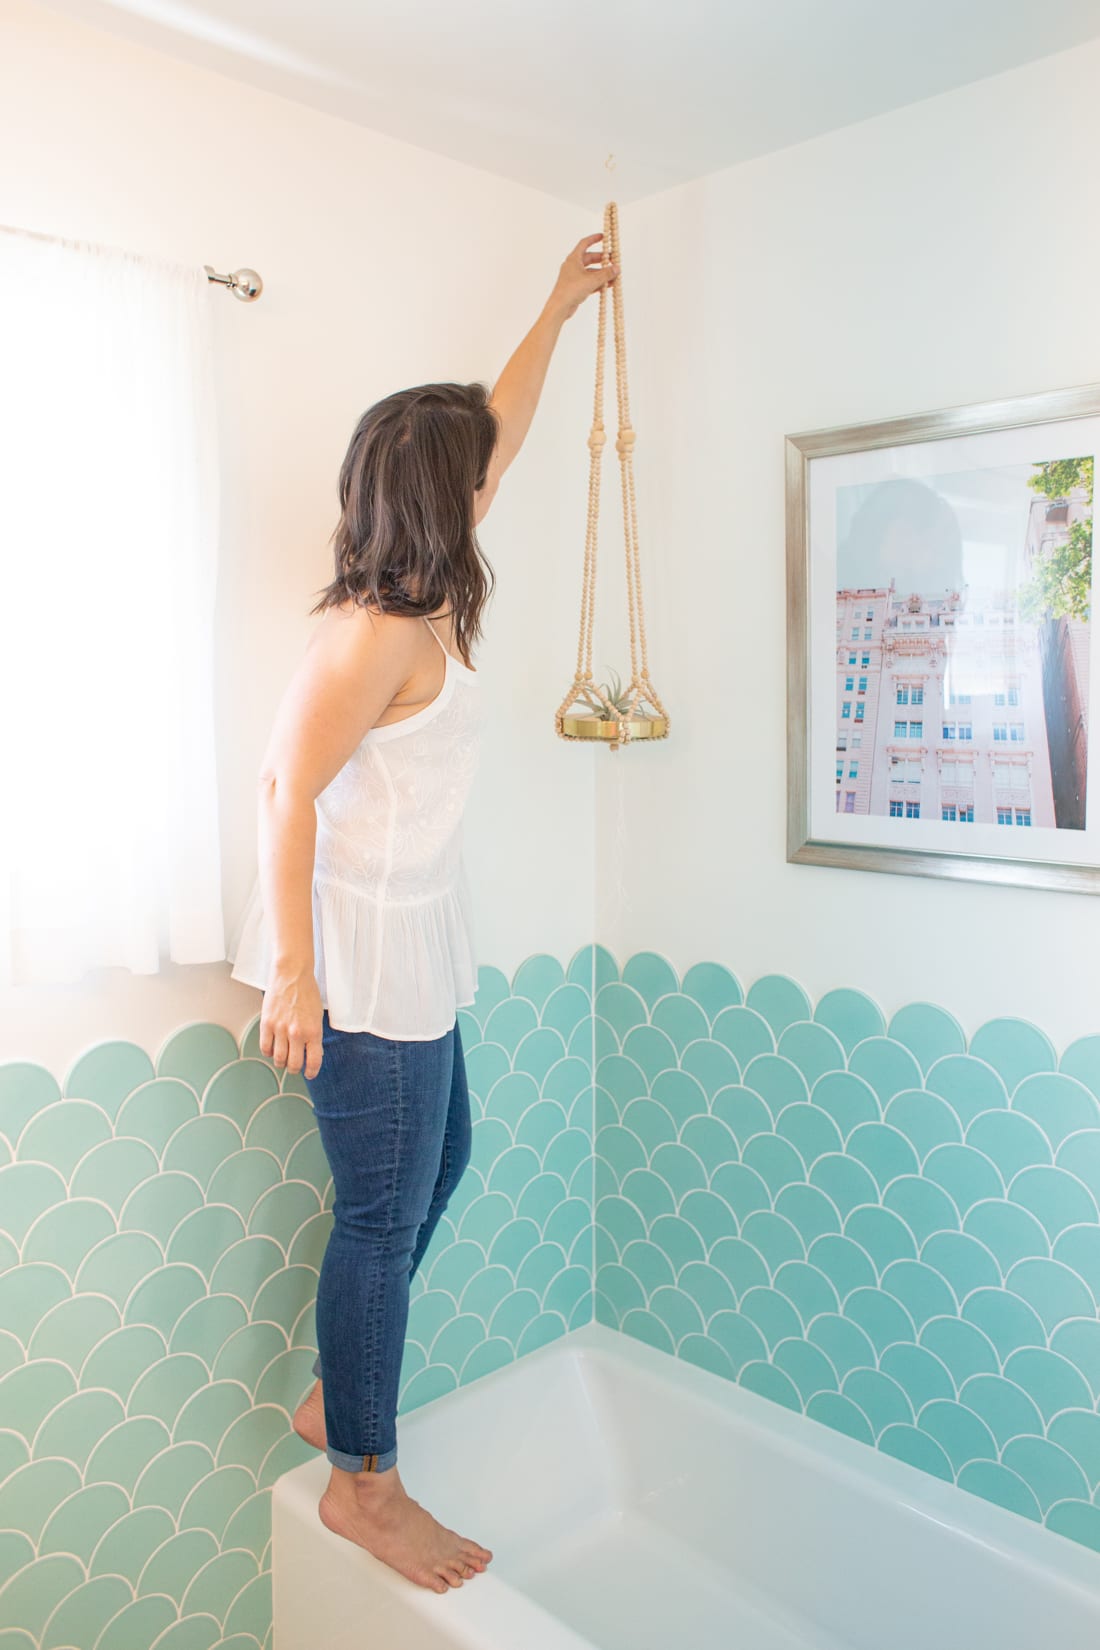
Step 9: Insert your plant into your planter and place the planter into the hanger. You’ll need to pull the strands of beads apart as you fit the planter inside. Hang your new planter!
More Ideas for Leftover Beads
Another great project you can make with any leftover beads is this pretty wood bead garland!
But these ideas actually all stand on their own outside of the holidays for home decor, and they’re fun and easy to make.
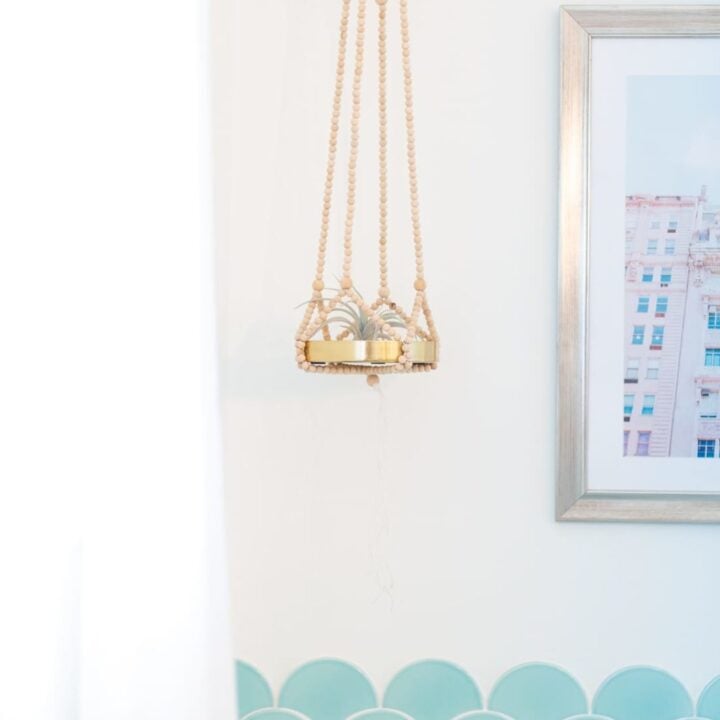
I know everyone is making the macrame plant hangers right now, but I really love this beaded take on it!
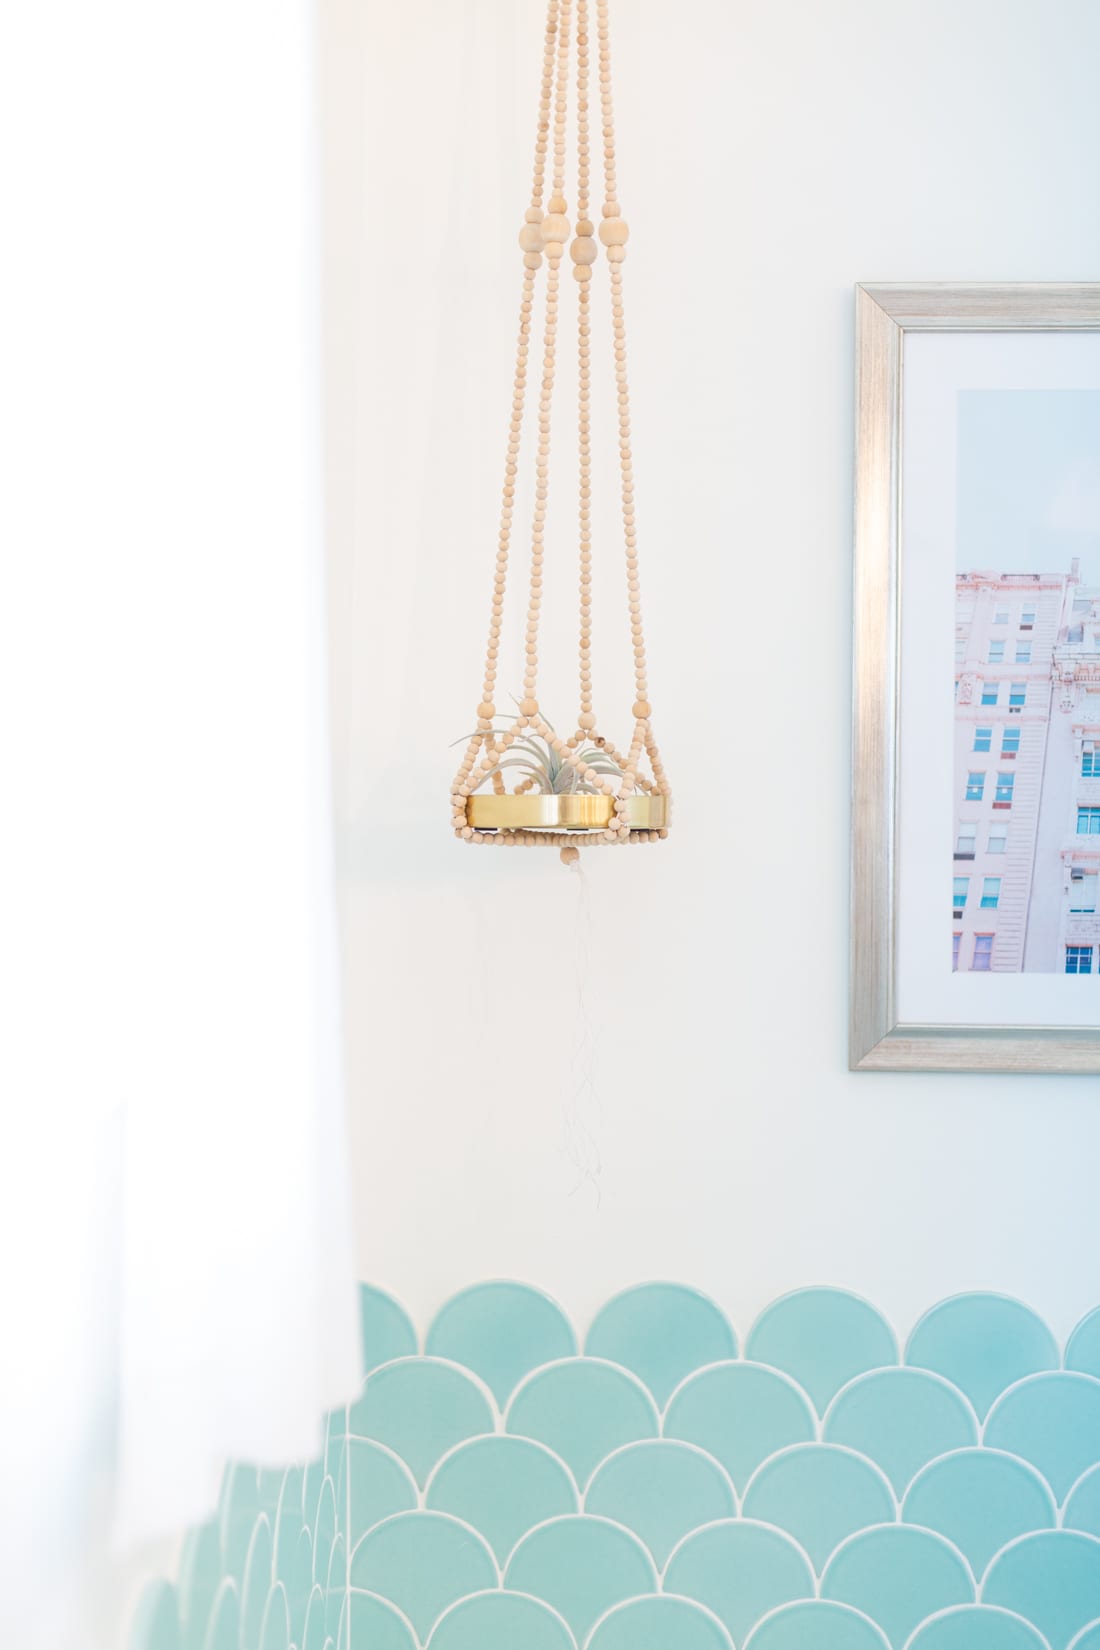
You could even go the extra mile and paint or dye the beads to match your decor. But I’m kind of feeling the raw wood vibe.
And now it’s hanging in the kiddo’s bathroom and the space is one step closer to actually being complete! xoxo
This post contains affiliate links for your convenience. This means that I receive a small commission should you make a purchase via one of these links, at no additional cost to you. Thank you as always for your support!
Beaded DIY Plant Hanger
Yield: Plant Hanger
Active Time: 2 hours
Total Time: 2 hours
Make a DIY plant hanger! This beginner-friendly project comes together in an afternoon and will leave you with a fresh piece of home decor.
Materials
10 mm wood beads
larger wood beads in various sizes
waxed cord
cylindrical planter
soil and a plant (or an airplant)
optional: clear tape
Tools
scissors
measuring tape
Instructions
Cut four lengths of waxed cord, each about 100" long. Group them together and fold them in half. At the halfway point, knot all of the cords together, leaving a loop that you can hang the piece from. You should now have a loop, a knot, and eight pieces of waxed cord hanging.
Start stringing your small beads. For this first section, you'll be taking two strands of cord and treating them as one. So take two strands and string beads on them together, so that they're inserted through the same beads at the same time. Do this for four pairs of cord.If you're having trouble getting the two cords through the beads, use a bit of scotch tape to tape the ends together, winding the tape tightly around the ends to keep them together and tight. For this portion, decide how long you'd like the first hanging section of beads to be in your plant hanger and string them accordingly. Our is about 30 inches worth of beads.
Once you have four strands of beads (each strand has two cords inside) of equal length, finish each strand with one medium bead.
Now, separate the cords back into eight single strands and start stringing beads on each. I recommend placing about 10 beads on each cord.
Next, you'll use a single bead to create pairs of strands. Add one bead to each pair, stringing both strands through the single bead.
Below the medium beads, separate the strands into eight singles again. String another 10 beads on each cord.
After the 10 beads, you'll make pairs again, but they should be staggered from the pairs you made last time to create a web for the plant holder to sit in.
Next, knot all cords together, securing the beads in one group. Finally, add any more decorative beads that you like below the knot. We added one final medium bead and knotted the cords again below it.
Notes
This is one of those projects that immediately adds personality, depth, and texture to any space.
And I'm not just saying that because I'm a major plant lady!
You don't even have to hang a plant in it - this beaded hanger would look awesome holding a pretty pot, or even a big dish filled with trinkets.
Learning how to make a beaded DIY plant hanger isn't difficult at all -- in fact, it's definitely an all-levels project that you can complete inside a couple hours. Let's do it!
Cool, such solutions allow not only to decorate the space, but also to relax while working. By the way, when I was recently looking for reliable reviews of where to buy quality home decor, I paid attention to Auction Com reviews – it is always useful to have objective information at hand before buying or bidding.
As a proud plant lover, I have to say Jacana Life vibes perfectly with my green obsession! Their natural wellness products are like a breath of fresh air—just like a hanging plant brightens a room, Jacana brings that same uplifting energy to your mind and body! https://jacanawellness.com/
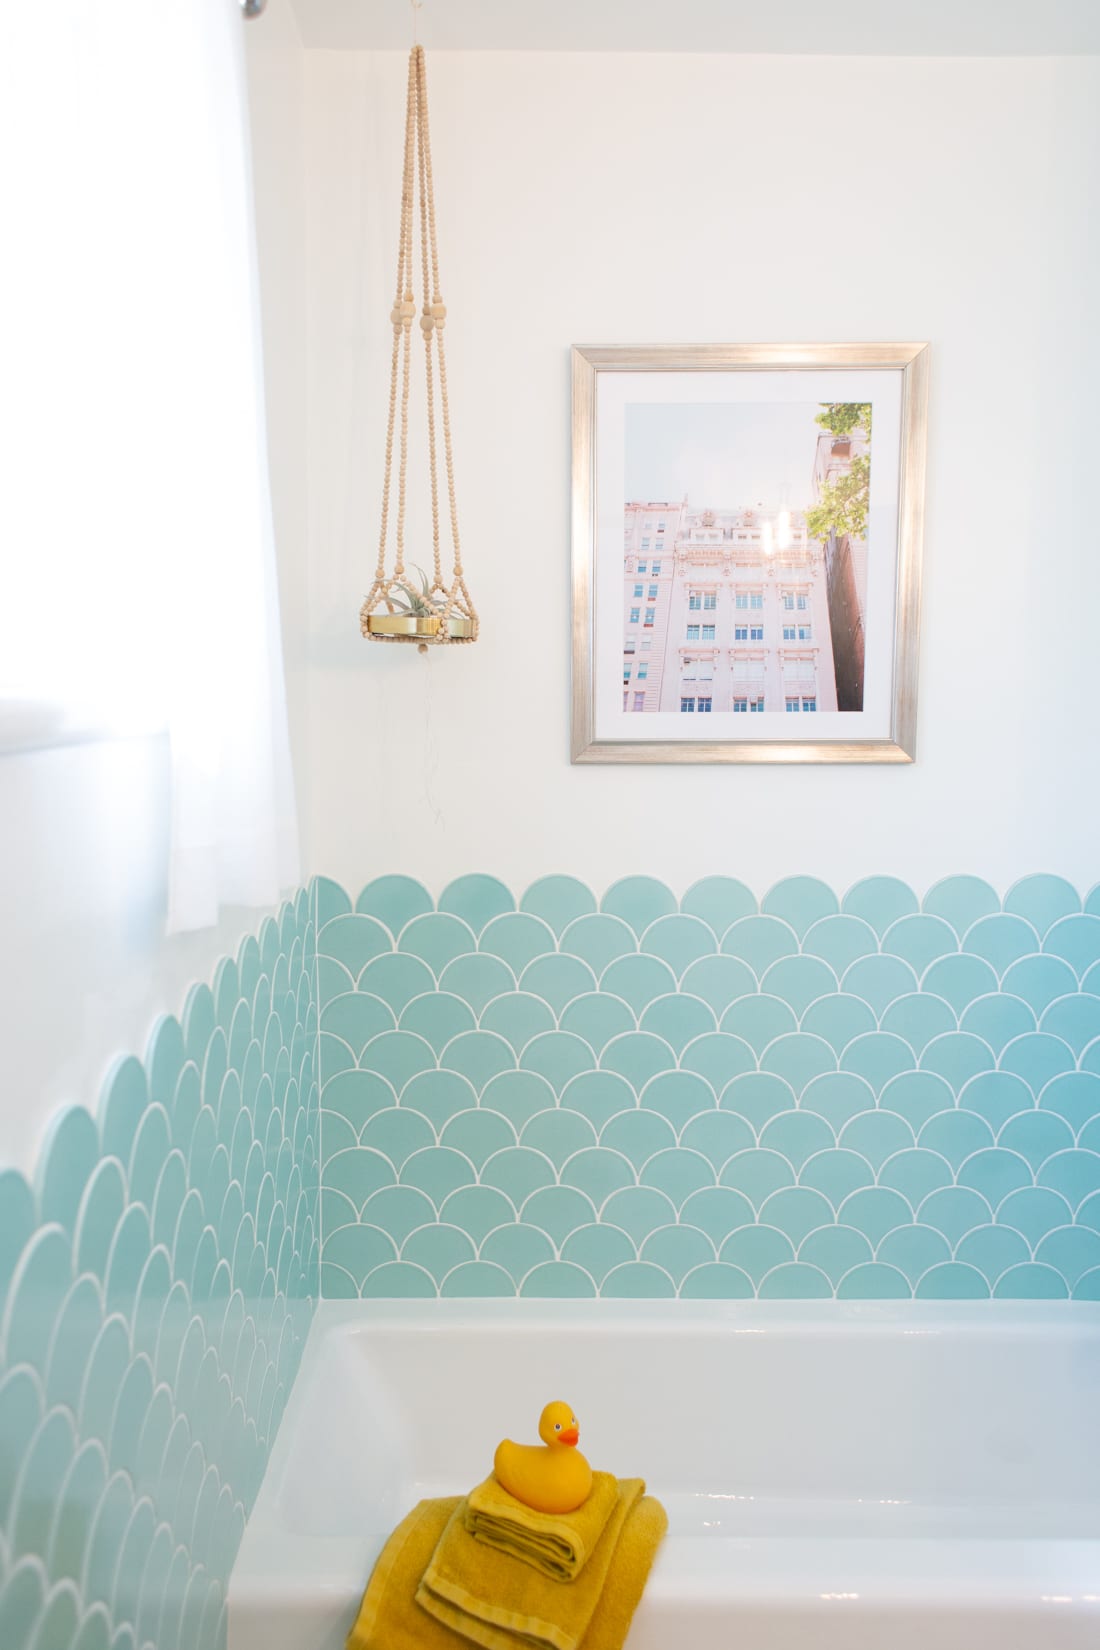


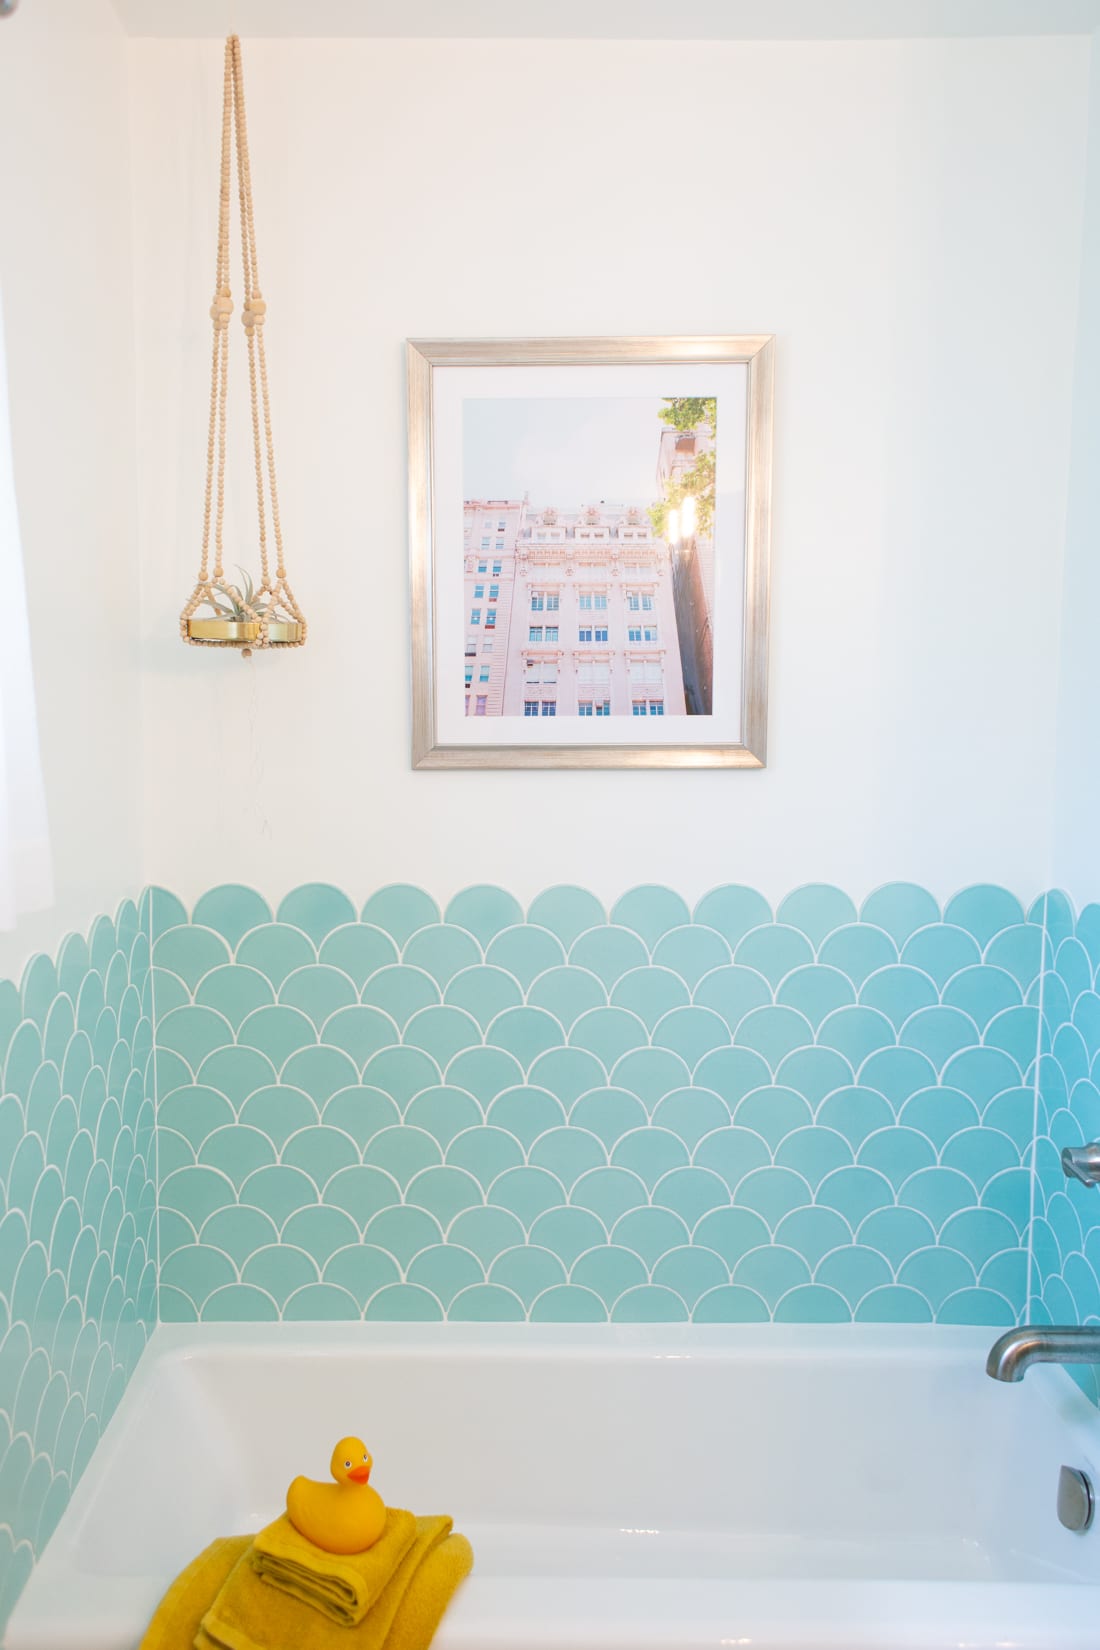
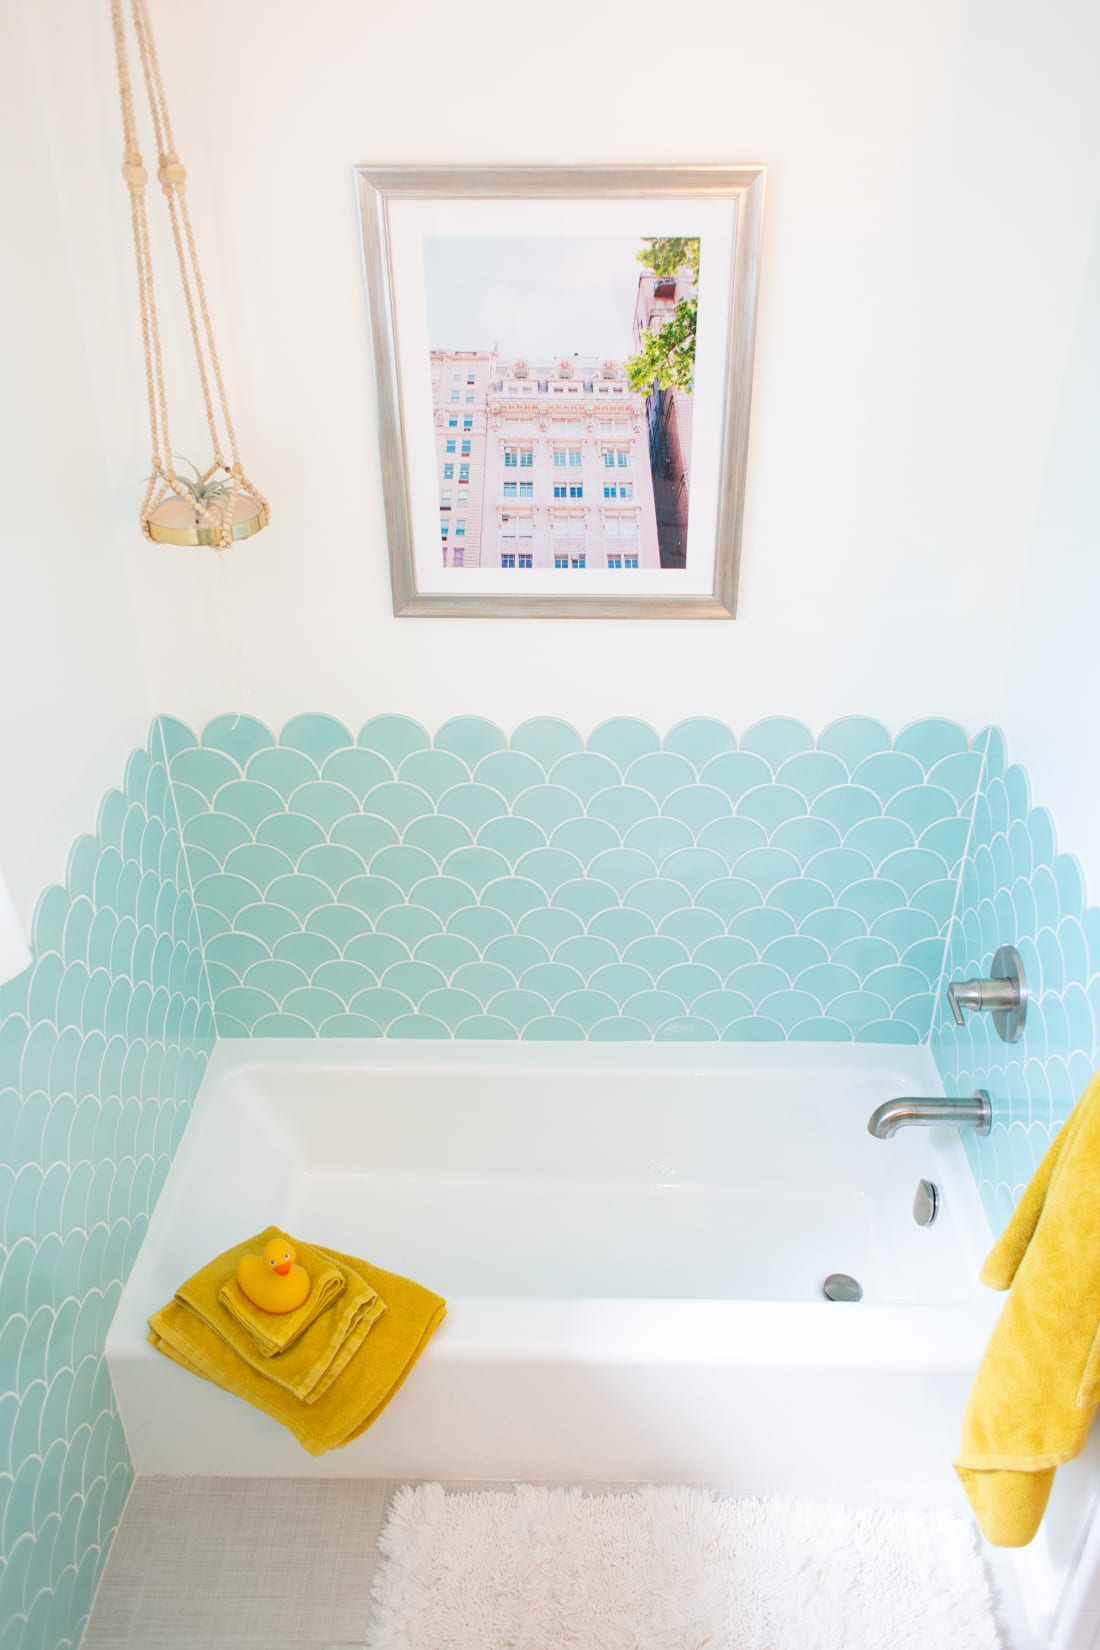

Love that look in the bathroom!
LOVE THIS! How many total small beads did you use for this project?
Cool, such solutions allow not only to decorate the space, but also to relax while working. By the way, when I was recently looking for reliable reviews of where to buy quality home decor, I paid attention to Auction Com reviews – it is always useful to have objective information at hand before buying or bidding.
As a proud plant lover, I have to say Jacana Life vibes perfectly with my green obsession! Their natural wellness products are like a breath of fresh air—just like a hanging plant brightens a room, Jacana brings that same uplifting energy to your mind and body!
https://jacanawellness.com/