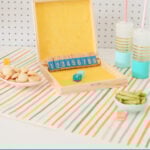
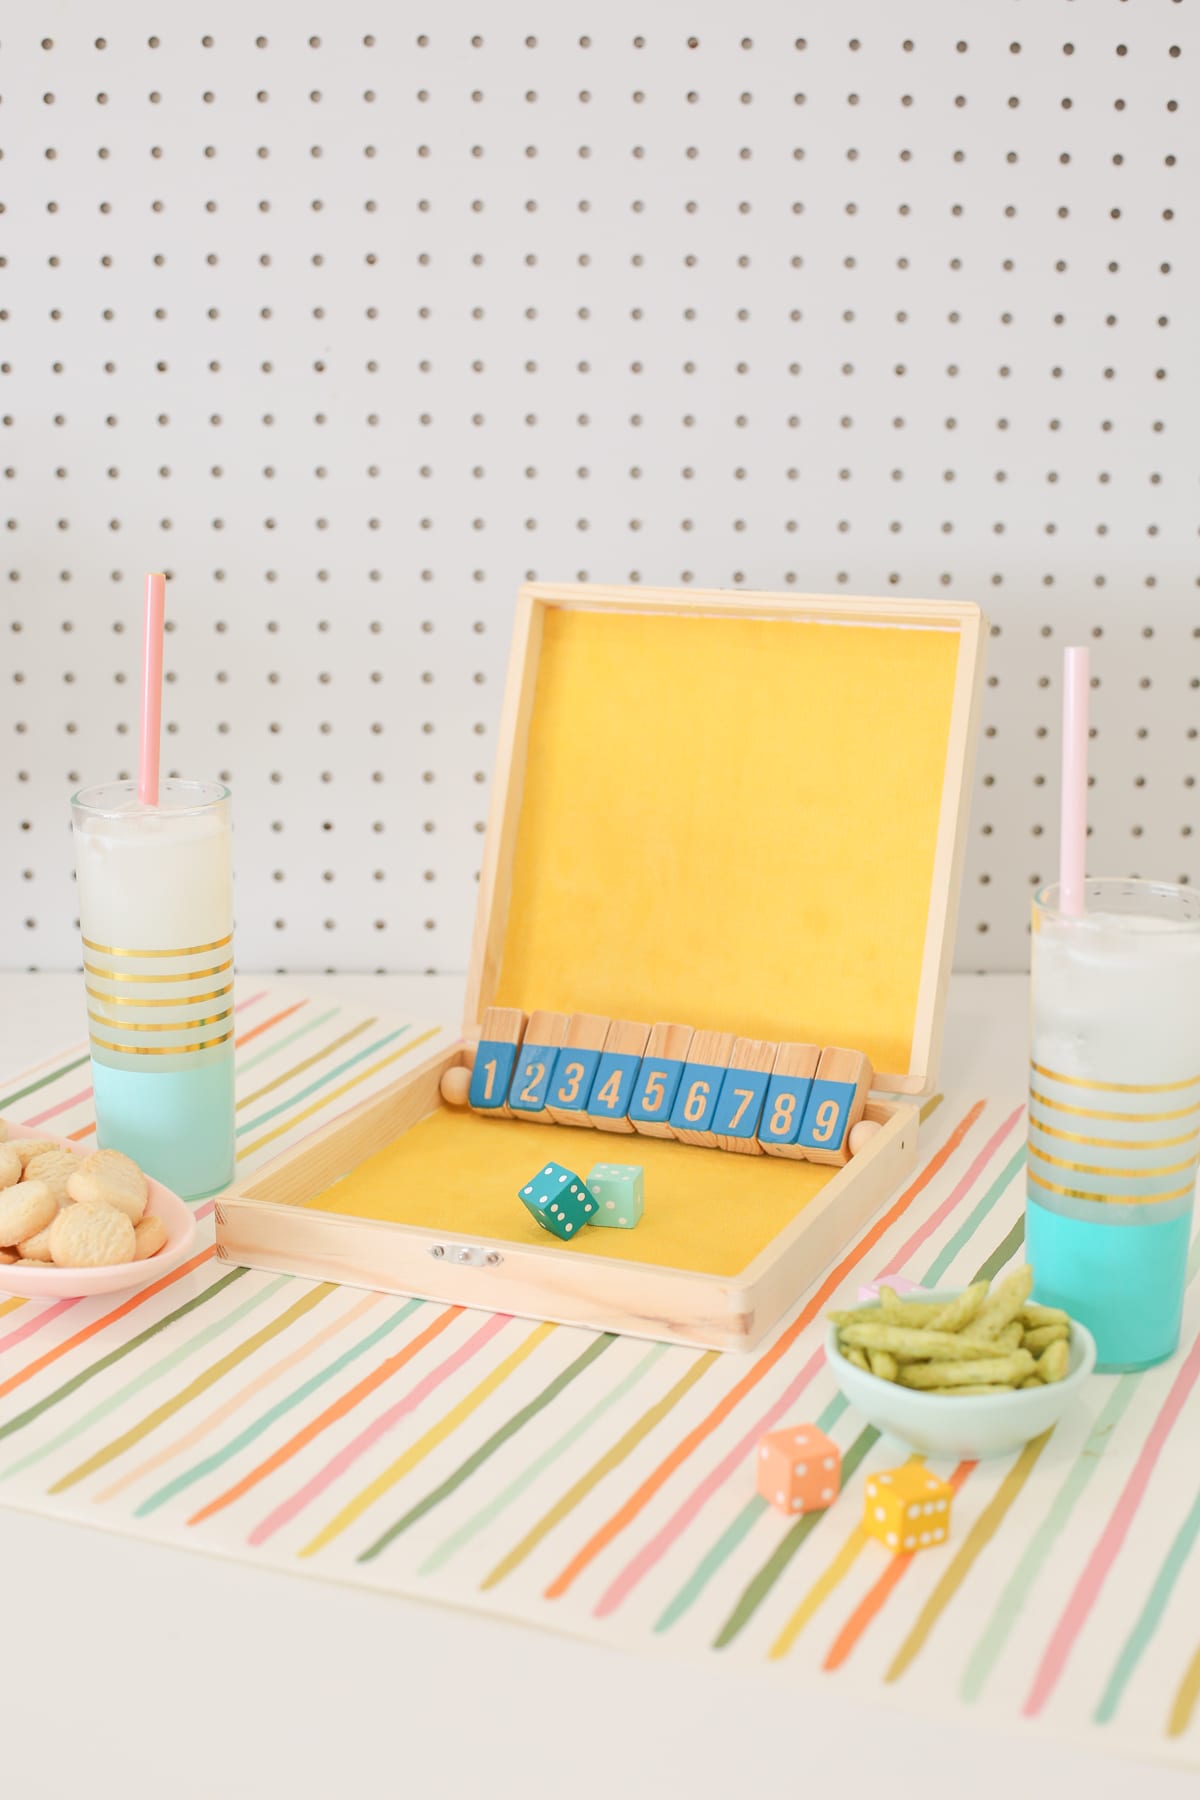
Make Your Own Shut The Box Game
Board game fans need to try this one! Learn how to make your own Shut the Box game.
I was doing a little research to decide on which games we should include in this year’s DIY board game series and came across Shut the Box!
Have you ever played? I fully admit I had never heard of it but now I’m sort of addicted.
It’s cool because you can play by yourself or with friends — and it’s a perfect game for a weekend at the cabin or a summer afternoon.
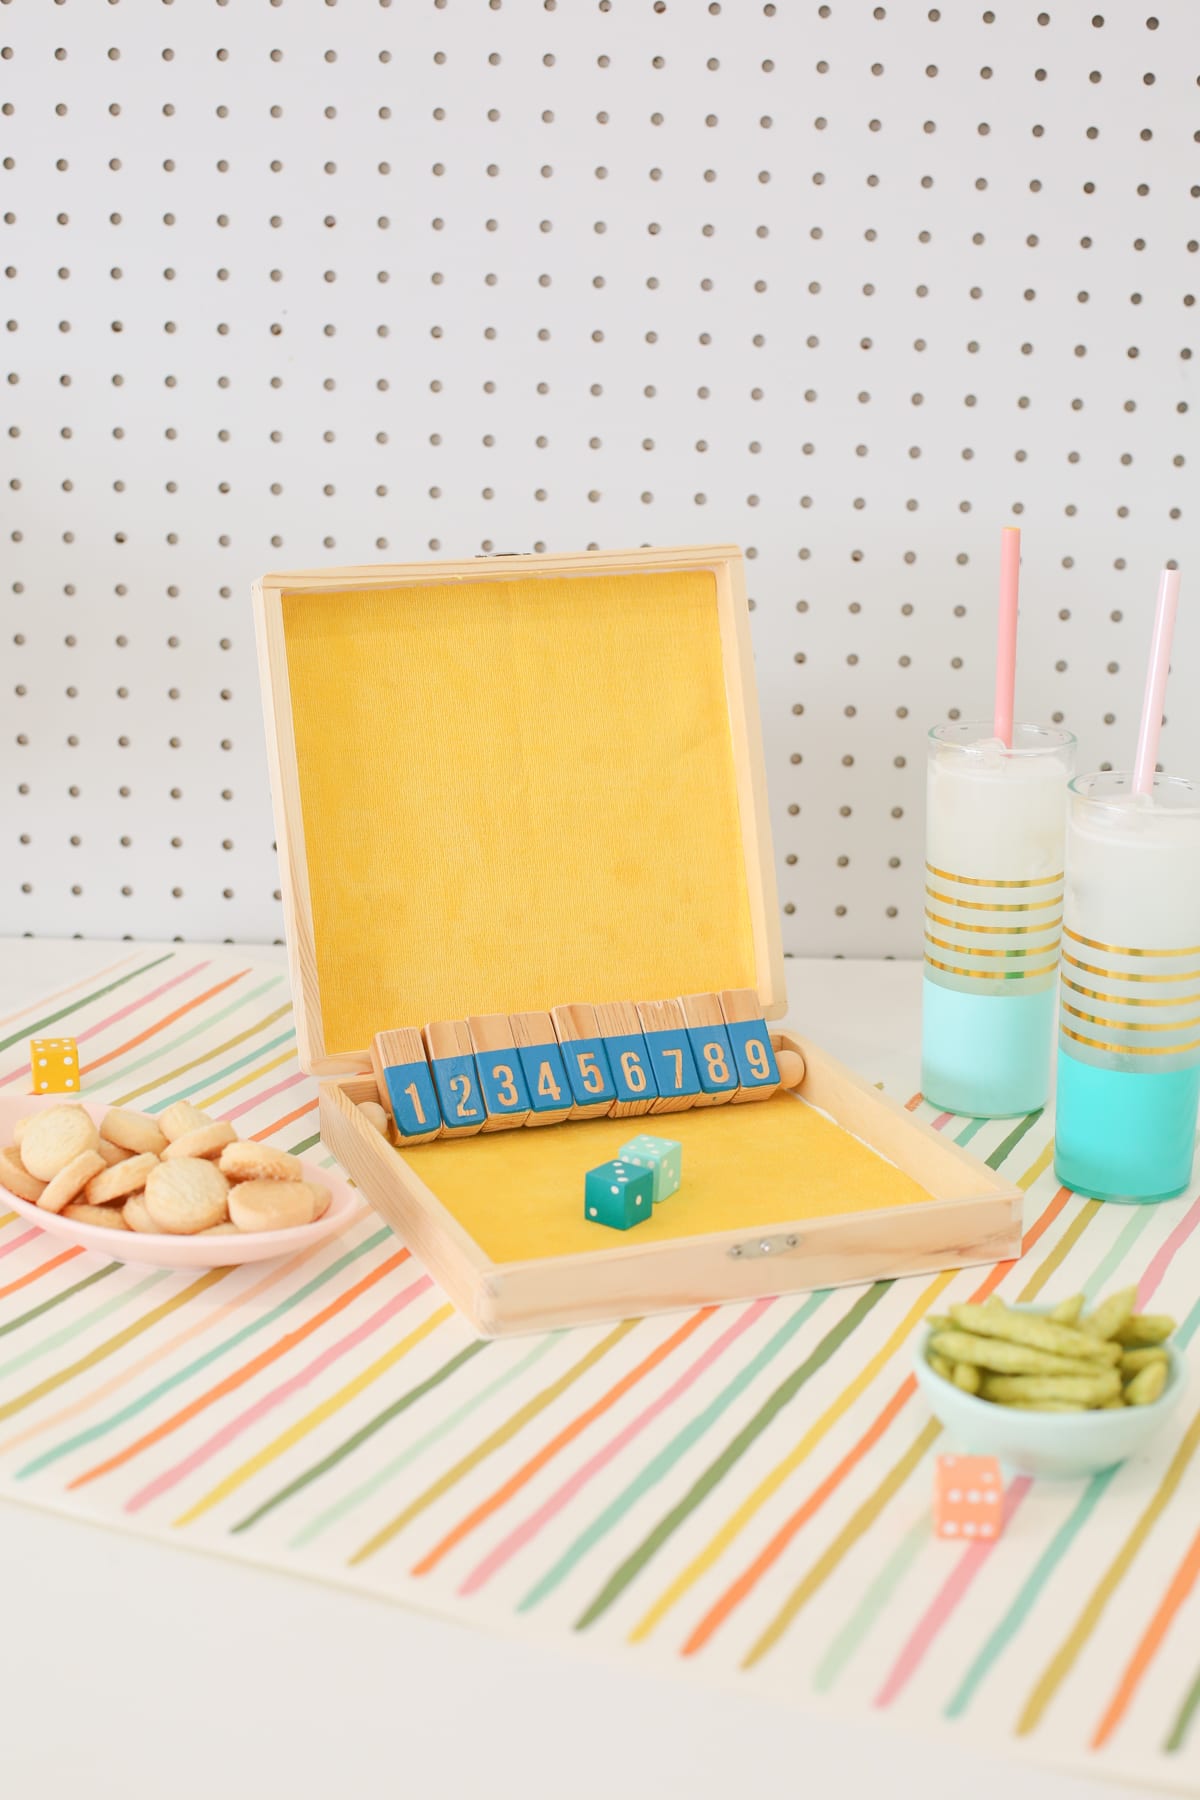
The finished product looks really cool and difficult but it’s very easy to make.
It’s also a perfect beginner project if you’re just starting with power tools like saws or drills. The cuts are very basic with not a lot of measuring, so you kind of can’t go wrong.
So here’s how to make a Shut the box game!
Psst — before you dive in, be sure to sign up below for my VIP group. I send these folks more of my very best DIYs, projects, and ideas.
DIY Board Games
Our (massive!) library of DIY board games is one of my favorite things that lives on Lovely Indeed.
I love that they’re such fun, colorful projects to make – and that after you’ve made them they really serve a purpose.
These games are constructed to stand the test of time and last years and years, making them the perfect DIY to be handed down between generations and become family heirlooms.
They also make incredible gifts!
I rounded up a few of my favorite DIY board games for you below — be sure to pin the ones you want to try!
- DIY Yahtzee Game with Printable Yahtzee Score Sheets
- DIY Guess Who Game with Wes Anderson Characters
- How to Make Your Own DIY Boggle Game
- DIY Cornhole Game
- Make a Checkers and Chess 2-in-1 Set
- DIY Battleship Game (with Faux Sweets)
- DIY Chinese Checkers Game
Supplies You’ll Need
- wooden box
- fabric (we used velvet)
- scissors
- E6000
- 3/4″ square wooden dowel
- 1/8″ brass tube
- 5/8″ wood beads
- number stickers
- craft paint
- paintbrush
- saw
- sandpaper
- drill with 1/8″ bit
- tweezers
- washi tape
- dice
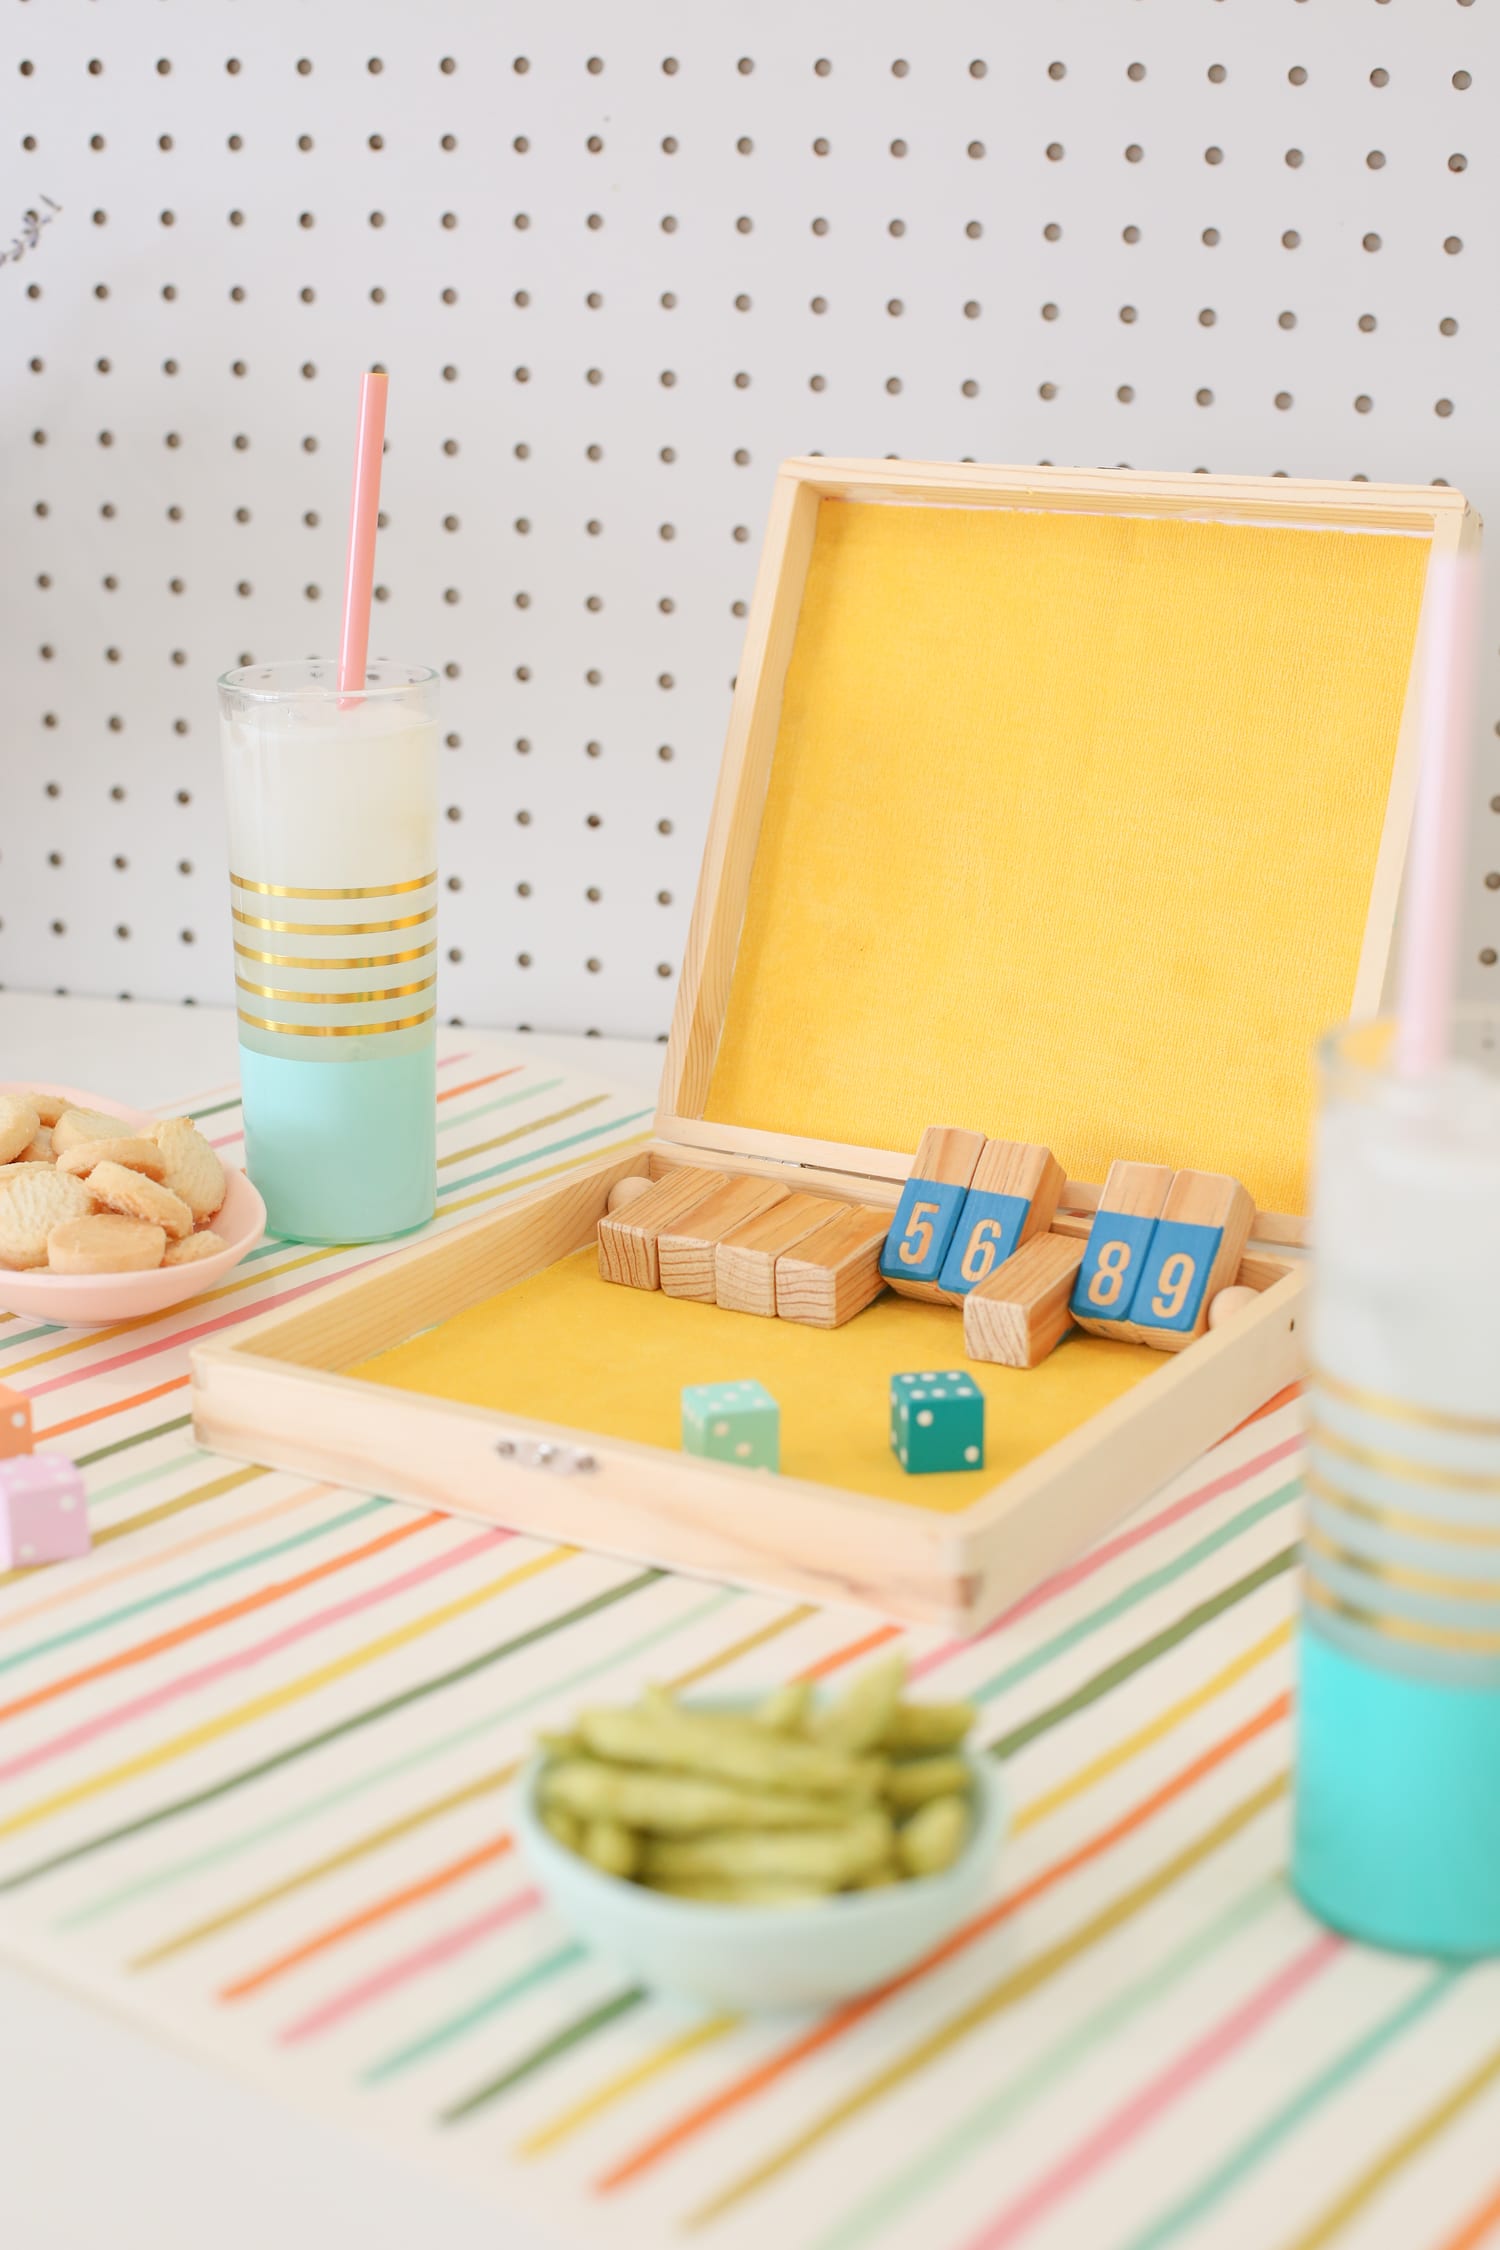
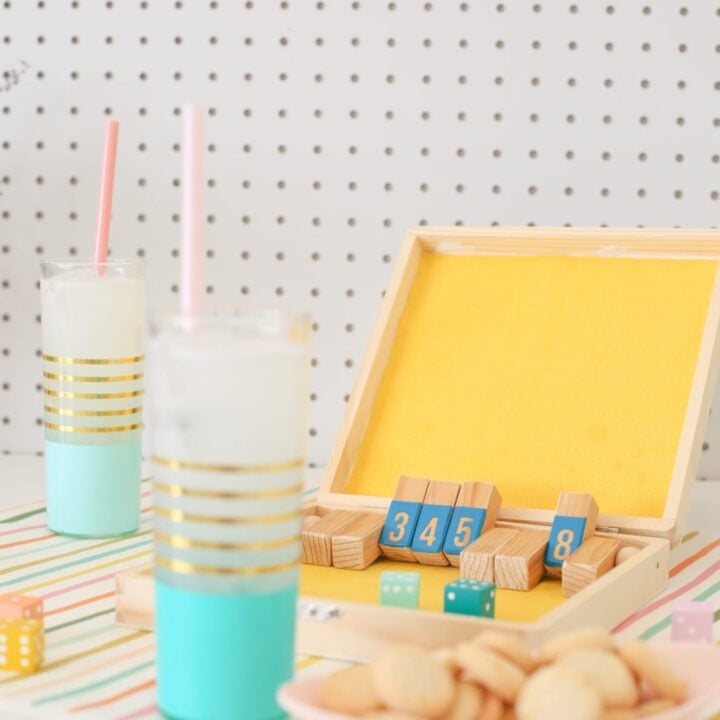
How to Make a Shut the Box Game
Make Time: 1 Hour
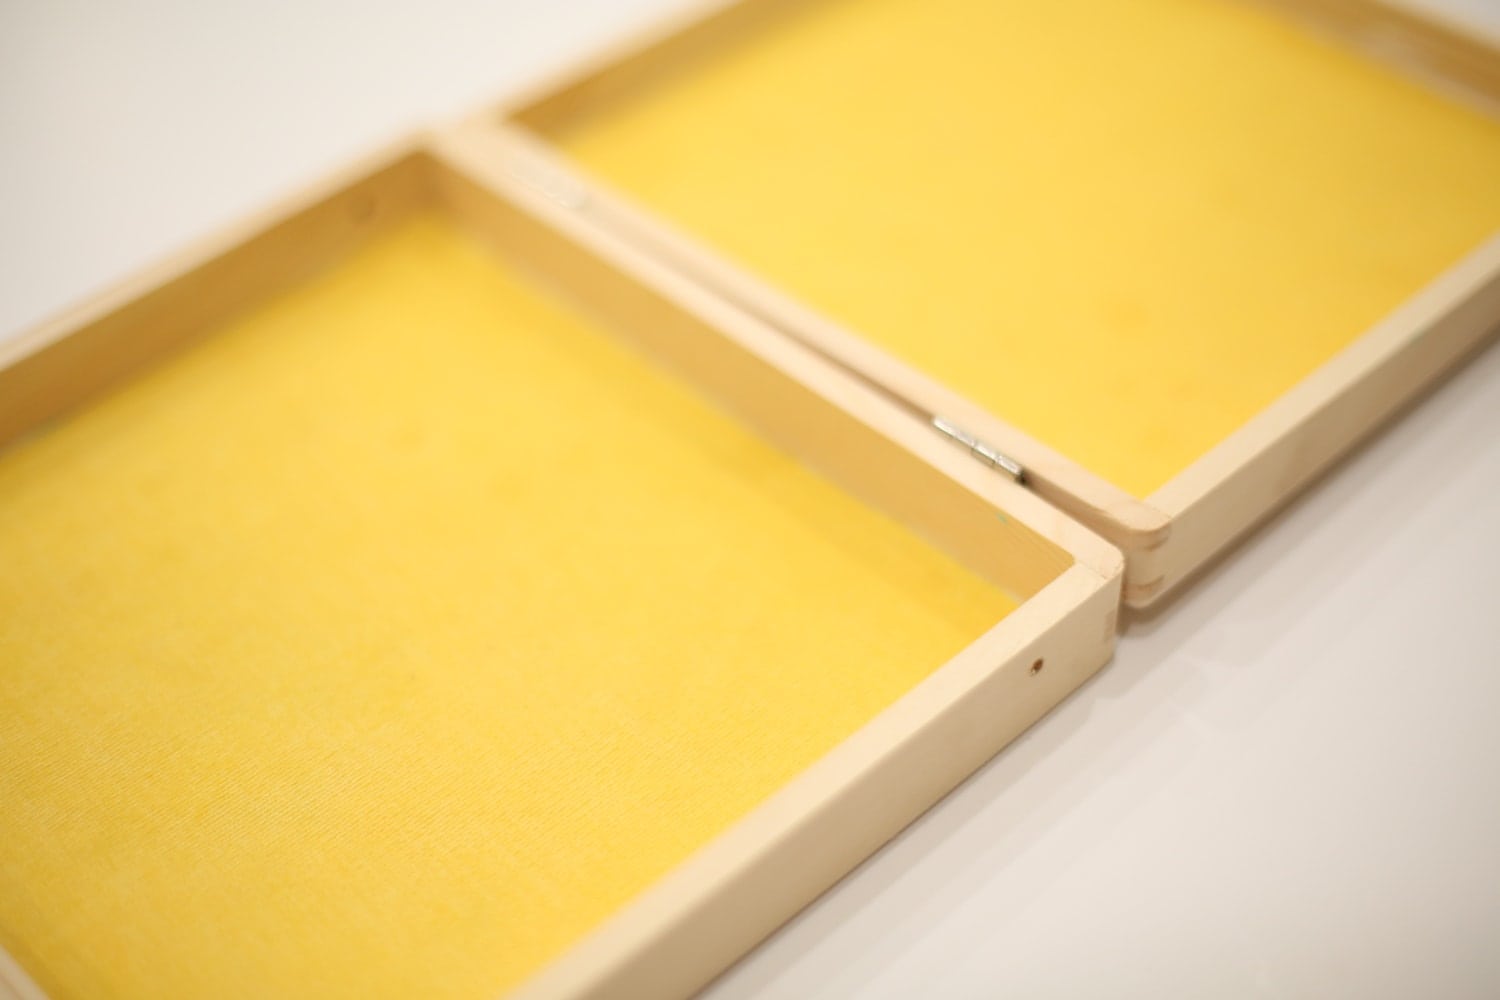
- Measure and cut your fabric so that it covers the surface on the top and bottom of the inside of your box. Spread a little glue on the top and bottom and affix your fabric there.
- Cut your wooden dowel into 9 pieces, each 1 1/2″ long. Drill a 1/8″ hole through the side of each dowel, about 1/4″ from the bottom of the dowel. Sand all pieces until smooth.
- On the bottom half of your box, drill a 1/8″ hole through the right side panel, 1″ away from the top panel. On the inside of the left panel, drill a small notch about halfway through the panel, 1″ away from the top panel. Do not drill all the way through. Your brass tube will pass through the hole in the right panel and rest in the notch on the left panel, so be sure they’re aligned.
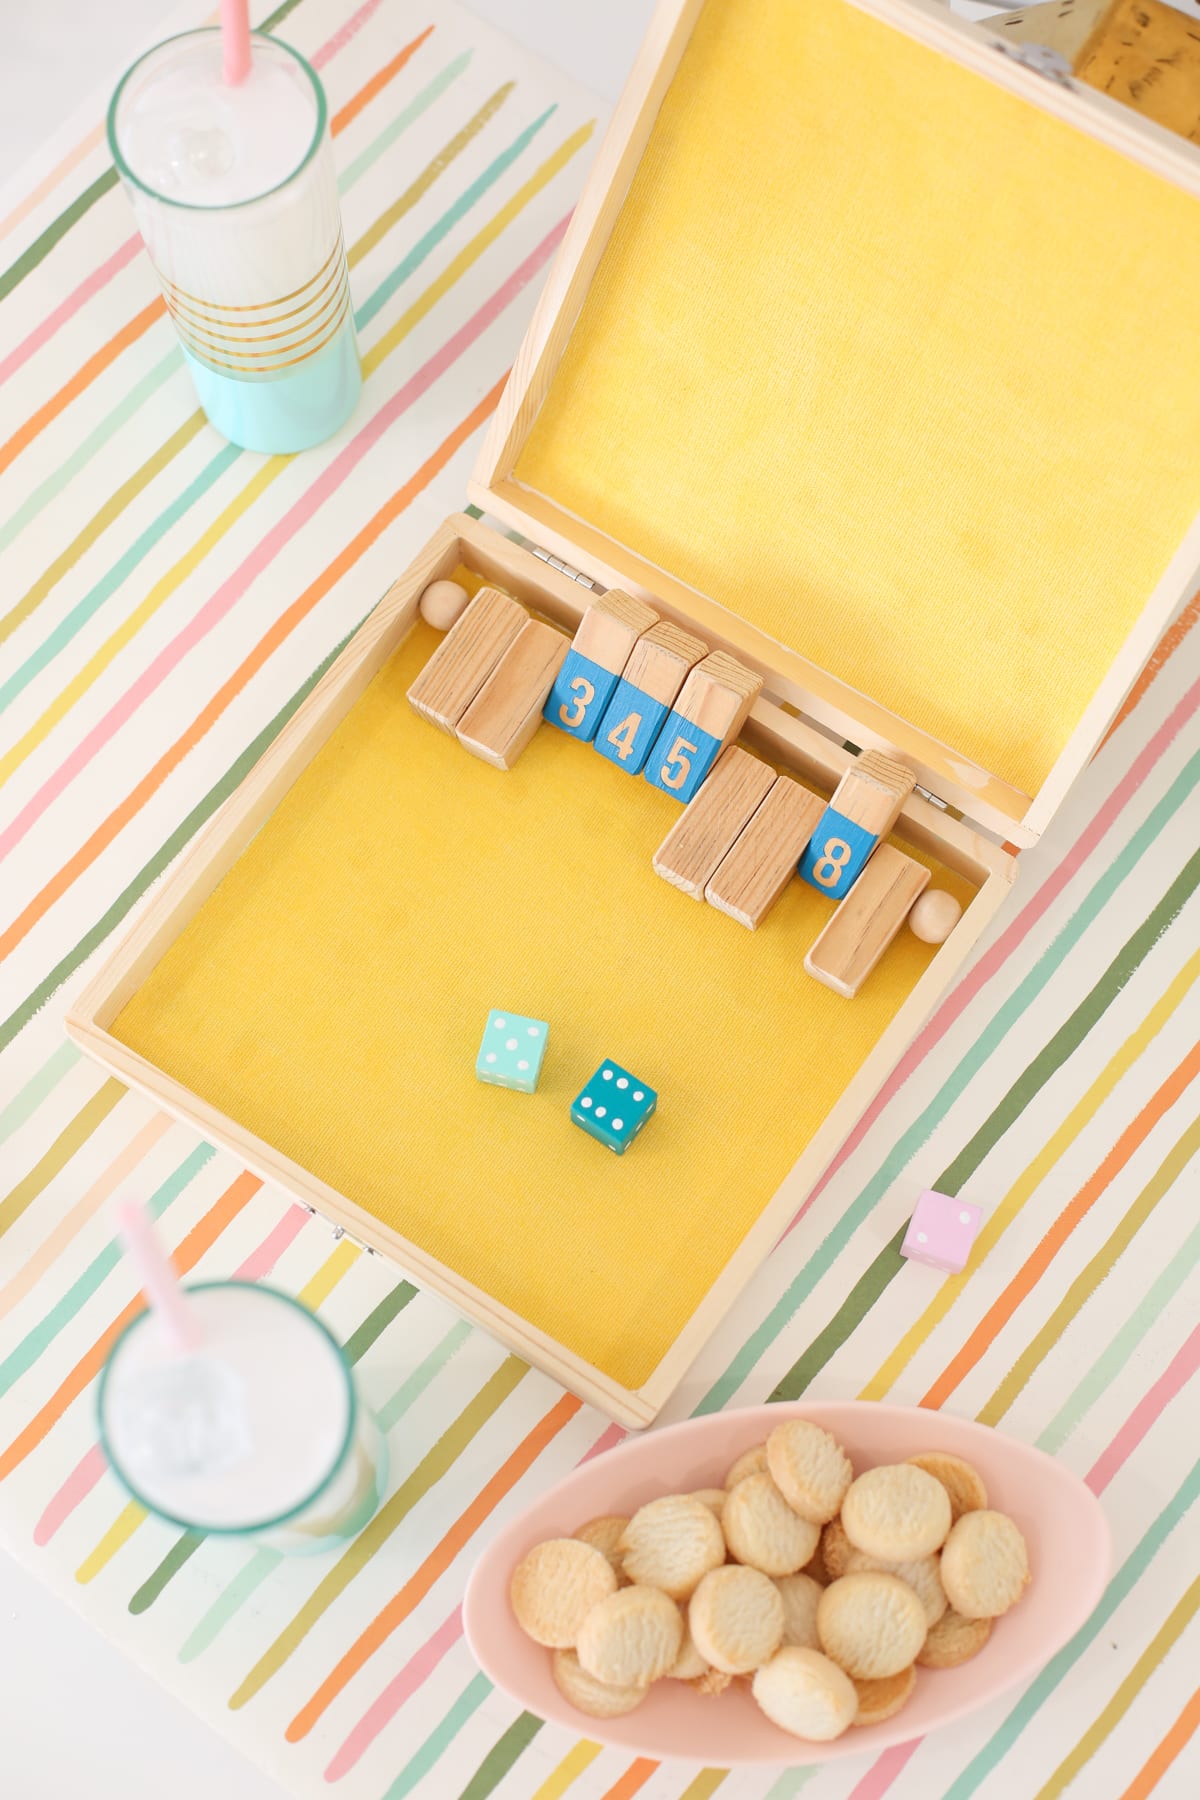
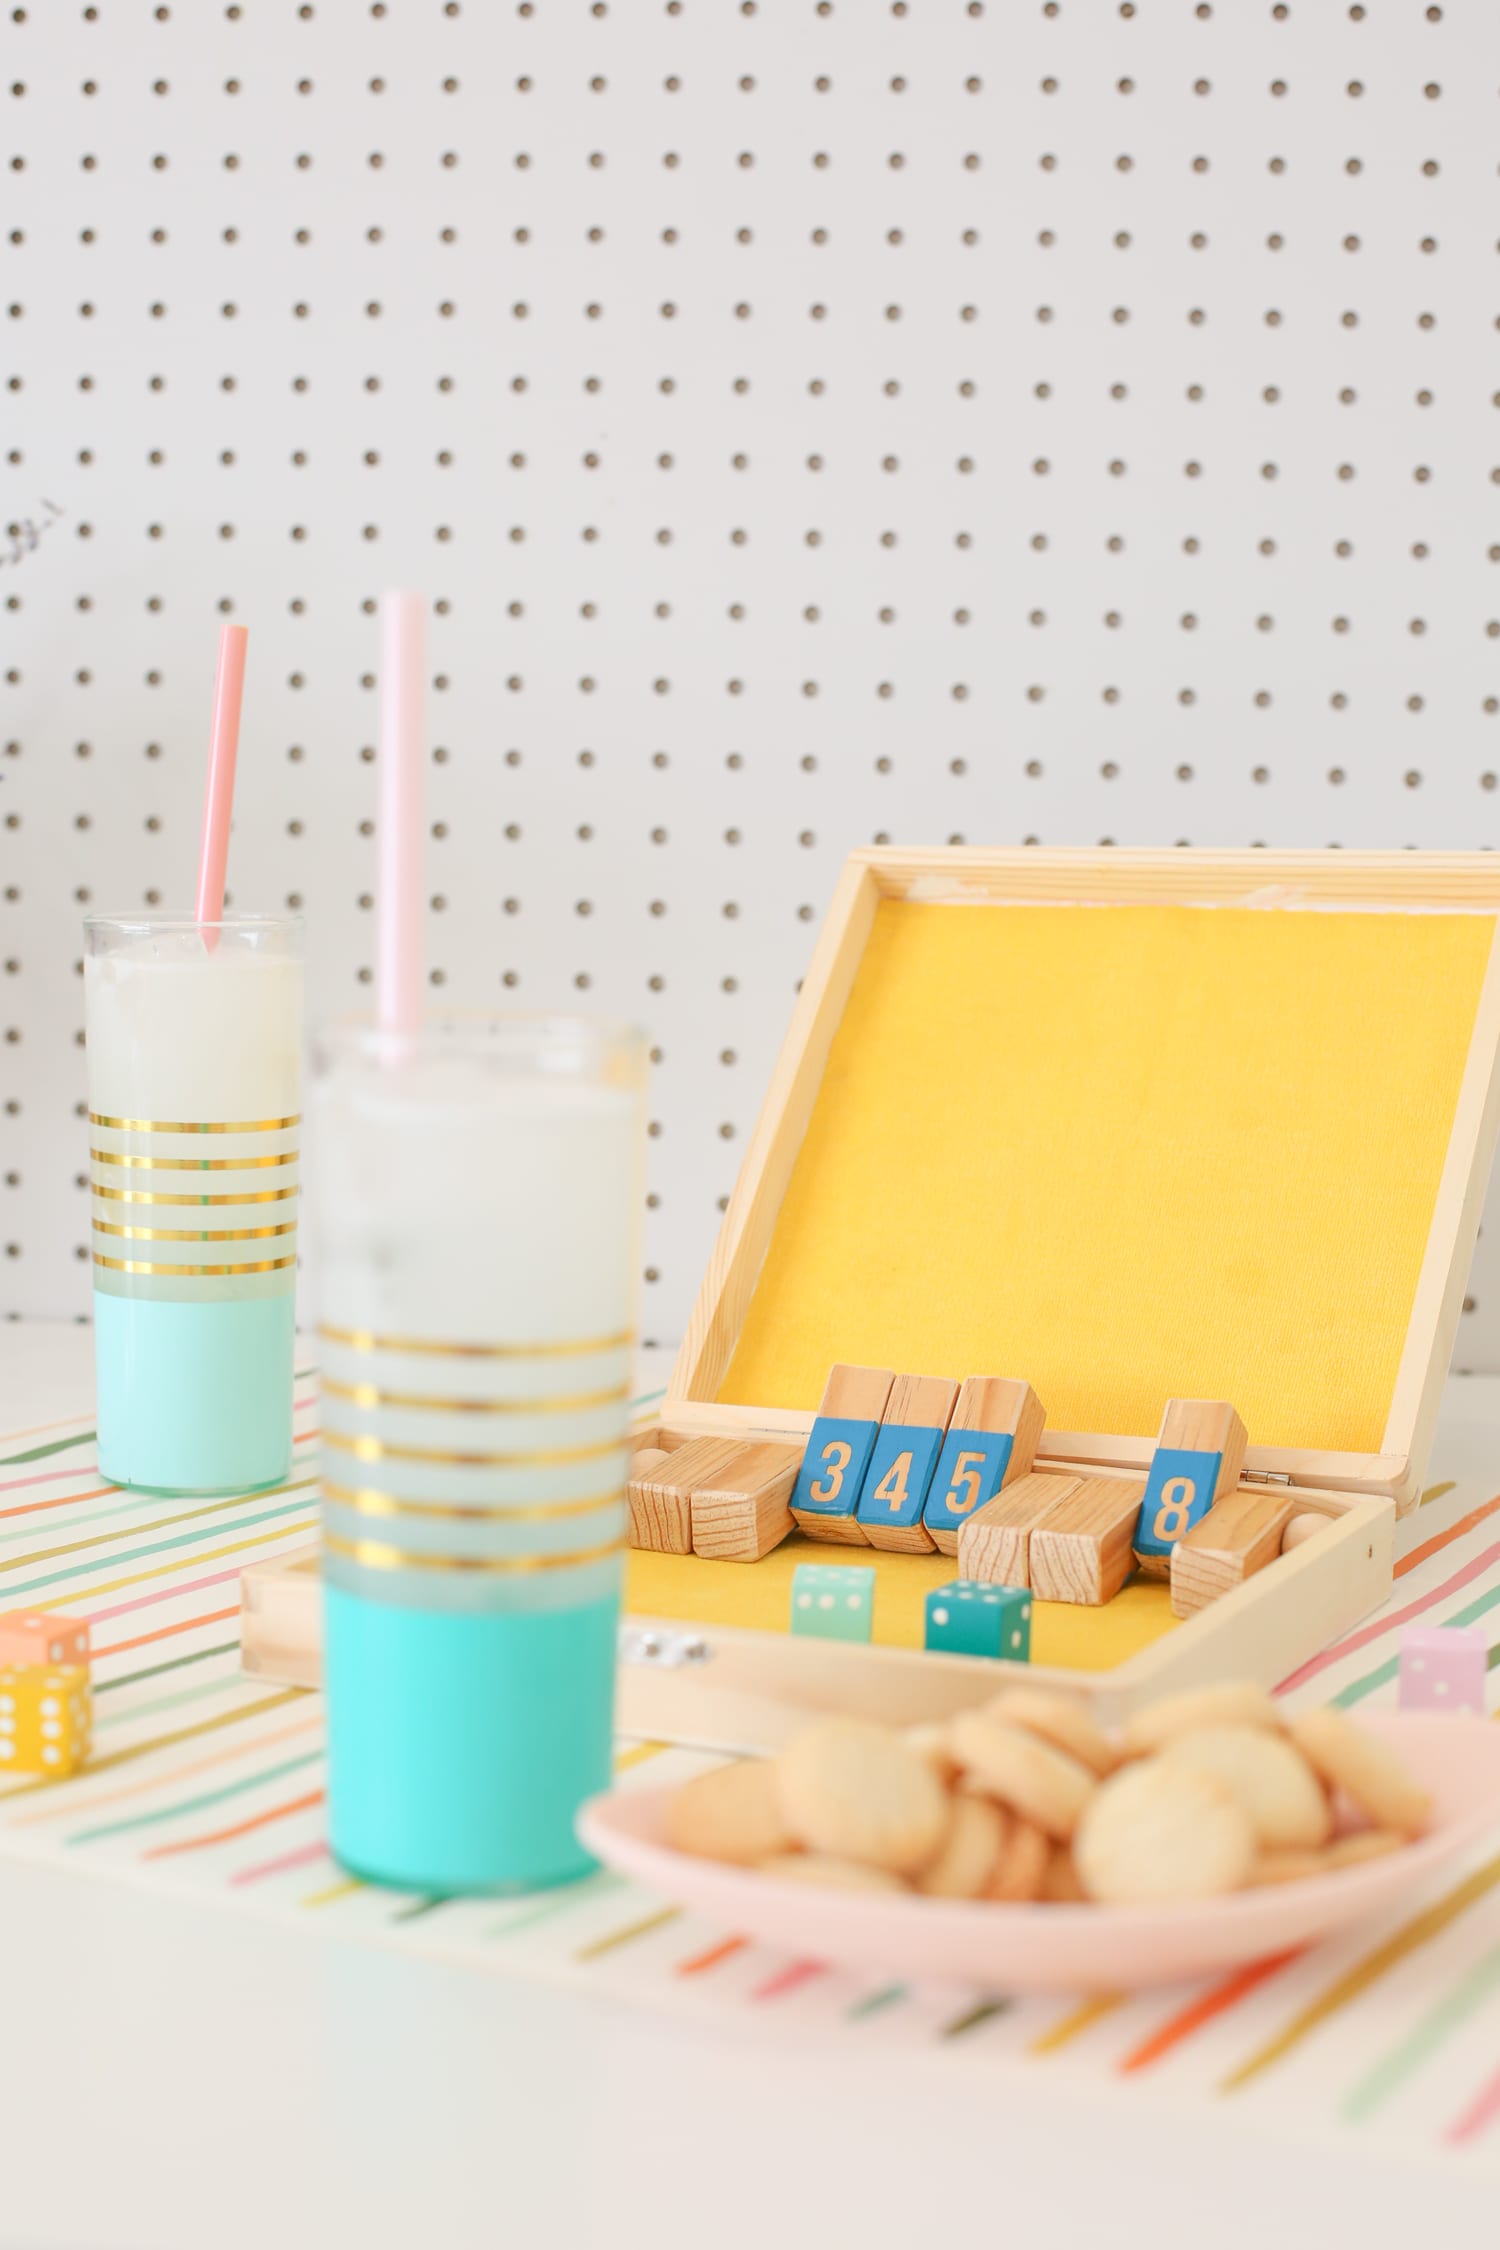
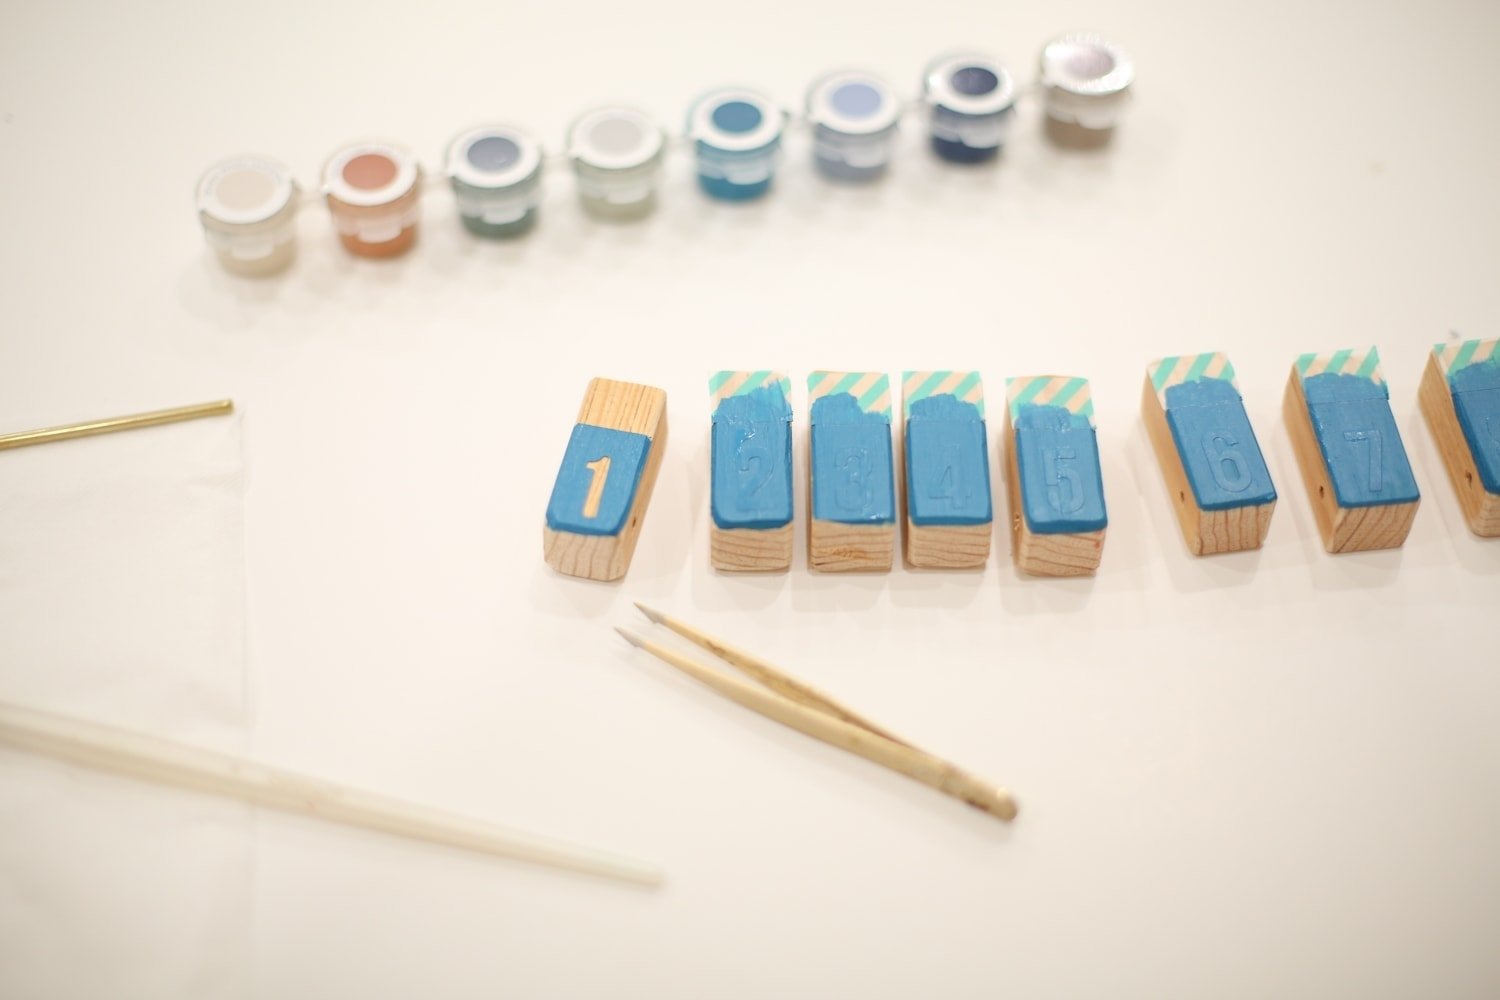
- Place sticker numbers 1-9 on each of the 9 pieces of dowel that you cut. Press the edges firmly to ensure that no paint seeps underneath. If you like, you can mask the top of the dowel pieces with some washi tape to add a dipped look. Paint the front of each dowel. Remove the washi and the stickers using tweezers if necessary.
- Use saw (or wire cutters) to trim the brass tube to the width of the box.
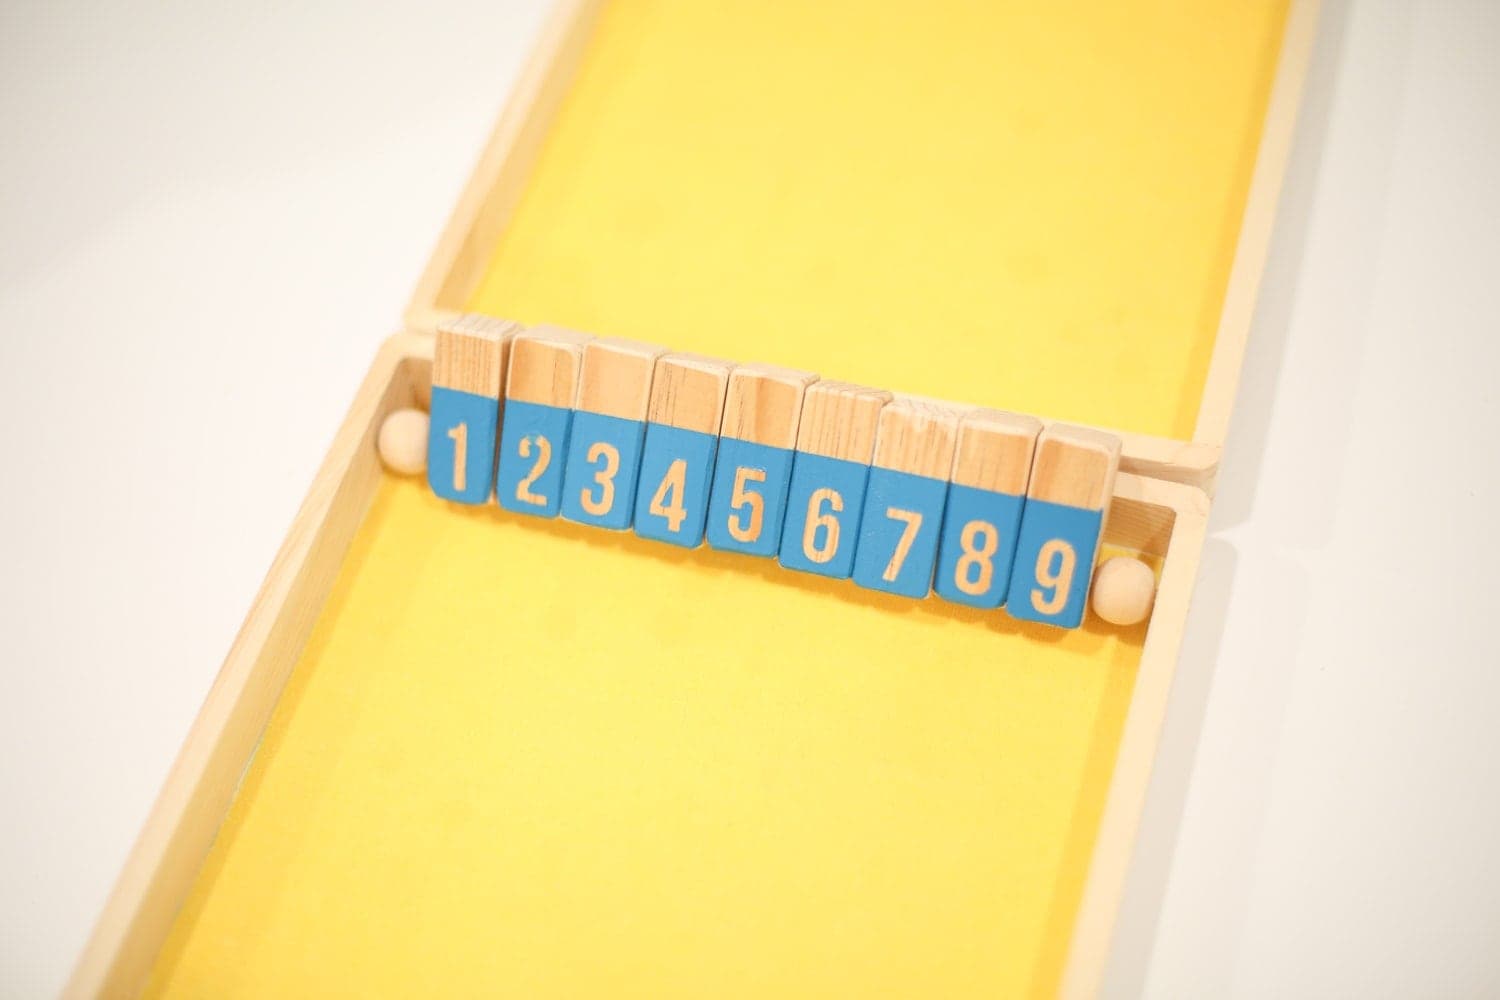
- Slide the brass tube through the hole on the right side of the box. Place one bead (if desired on the tube, then the numbers 1-9 in order left to right, then another bead. Add a drop of glue to the notch on the left side of the box and insert the tube into the notch. Allow the glue to dry completely.


How to Play Shut the Box
That’s it! We used the pretty dice that we made for our DIY Yahtzee game, but you could use any dice that you have around.
You could also make these cute ones by following this tutorial.
You can find instructions for playing Shut the Box right here. I love this little game because it’s totally portable, and you can leave it open on your coffee table as well (since it’s so pretty!).
Have you made any of our DIY games yet? Which ones? xoxo
Shut the Box Game
Board game fans need to try this one! Learn how to make your own Shut the Box game.
Materials
- wooden box
- fabric (we used velvet)
- E6000
- 3/4" square wooden dowel
- 1/8" brass tube
- 5/8" wood beads
- number stickers
- craft paint
- sandpaper
- washi tape
- dice
Tools
- scissors
- paintbrush
- saw
- drill with 1/8" bit
- tweezers
Instructions
- Measure and cut your fabric so that it covers the surface on the top and bottom of the inside of your box. Spread a little glue on the top and bottom and affix your fabric there.
- Cut your wooden dowel into 9 pieces, each 1 1/2" long. Drill a 1/8" hole through the side of each dowel, about 1/4" from the bottom of the dowel. Sand all pieces until smooth.
- On the bottom half of your box, drill a 1/8" hole through the right side panel, 1" away from the top panel. On the inside of the left panel, drill a small notch about halfway through the panel, 1" away from the top panel. Do not drill all the way through. Your brass tube will pass through the hole in the right panel and rest in the notch on the left panel, so be sure they're aligned.
- Place sticker numbers 1-9 on each of the 9 pieces of dowel that you cut. Press the edges firmly to ensure that no paint seeps underneath. If you like, you can mask the top of the dowel pieces with some washi tape to add a dipped look. Paint the front of each dowel. Remove the washi and the stickers using tweezers if necessary.
- Use saw (or wire cutters) to trim the brass tube to the width of the box.
- Slide the brass tube through the hole on the right side of the box. Place one bead (if desired on the tube, then the numbers 1-9 in order left to right, then another bead. Add a drop of glue to the notch on the left side of the box and insert the tube into the notch. Allow the glue to dry completely.
Notes
That's it! We used the pretty dice that we made for our DIY Yahtzee game, but you could use any dice that you have around.
You could also make these cute ones by following this tutorial.
You can find instructions for playing Shut the Box right here. I love this little game because it's totally portable, and you can leave it open on your coffee table as well (since it's so pretty!).
This post contains affiliate links for your convenience. This means that I receive a small commission should you make a purchase via one of these links, at no additional cost to you. Thank you as always for your support.
 Printable Wedding Activity Book for Kids
  House Cleaning Schedule
  Baby Shower Onesie Station Instructions
  Wes Anderson Guess Who Game
  Easter Bunny Box
  Four Mother's Day Cards
 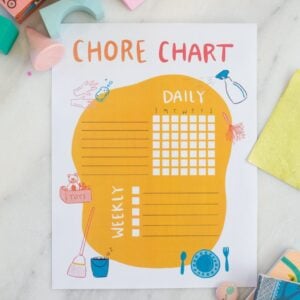 Chore Chart for Kids
  DIY Apron Printable
  Make Stuff: A Crafting eBook for Families
 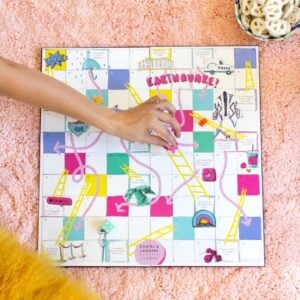 Los Angeles Chutes + Ladders Game
  Easter Mini Card
  Funny DIY Mother's Day Cards